Verifying the Installation and Configuration
Using the Sample Configuration File
When Neuron is first installed, the Neuron ESB Service is configured to host the a Sample configuration. This sample contains a number of pre-configured topics and parties. This configuration can be used to quickly verify the installation and configuration of a Neuron deployment.
Loading the Configuration
To Load the Configuration File
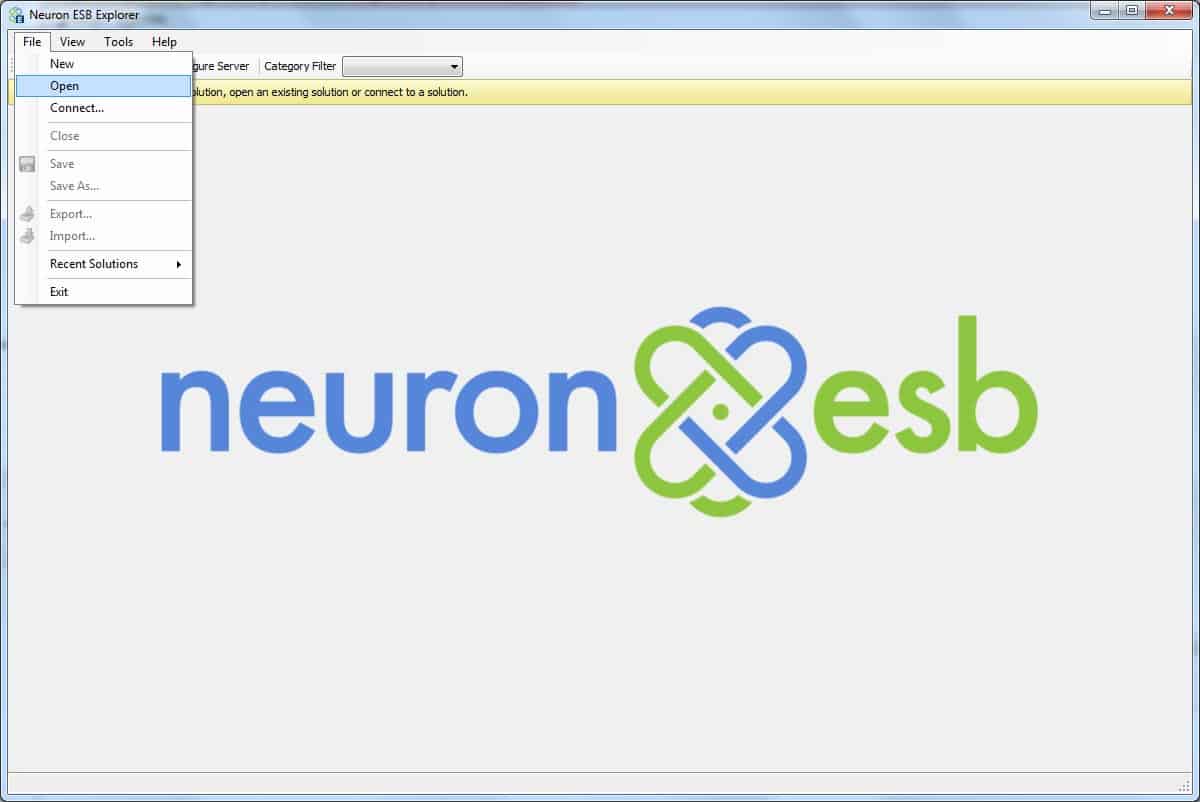
- Start the Neuron ESB Explorer from the Start->Programs->Neudesic menu.
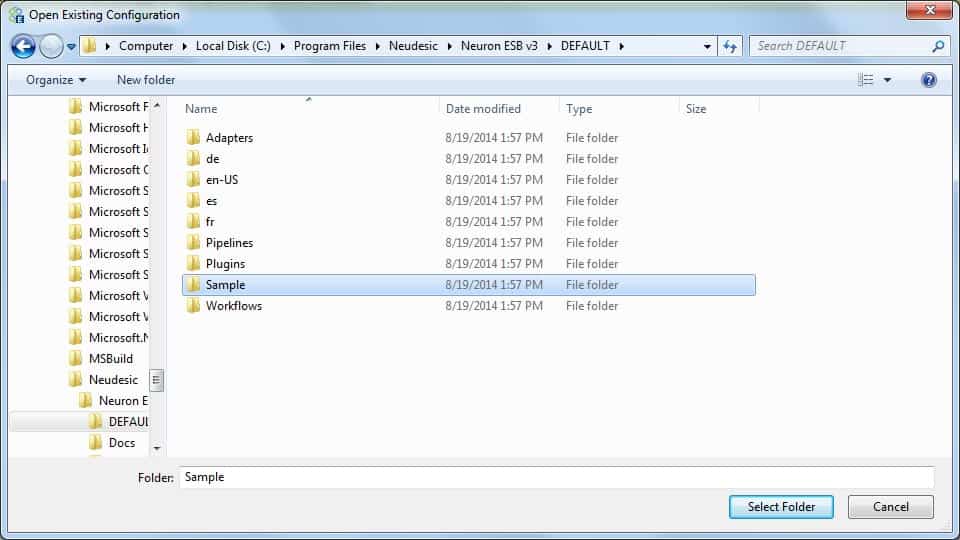
- At the Open Neuron Configuration dialog, Select the Open option from the Offline section, and navigate to the Sample configuration folder at <Program Files>\Neudesic\Neuron ESB v3\DEFAULT\Sample.
- You need to navigate into the Sample configuration folder, then click the Select button.
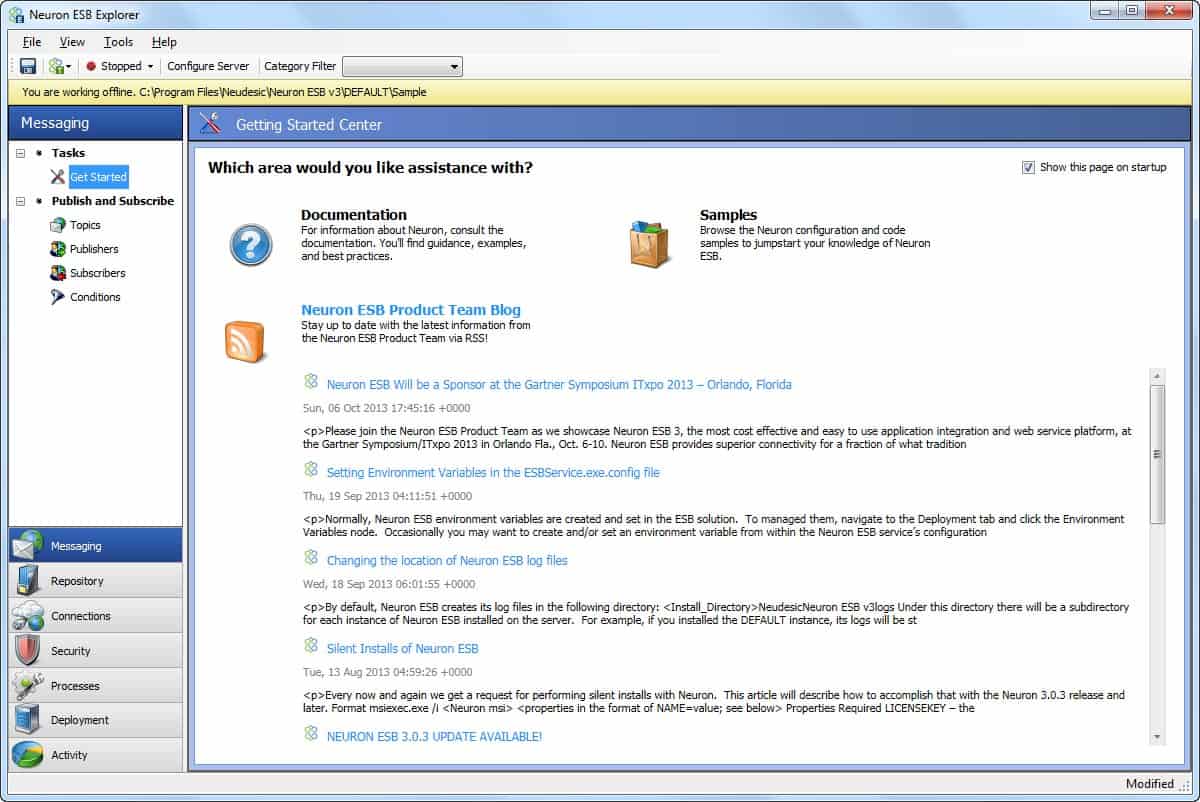
- The configuration is loaded, and the Getting Started page is displayed. The fully qualified path to the configuration file is displayed in the yellow status bar.
It is important to note that the file being edited does not have to be the same configuration that Neuron is currently running. The Neuron service configuration determines the configuration file that is used by the Neuron service.
Inspecting the Configuration
A quick look at the configuration reveals several Topics, specifically one named Test:

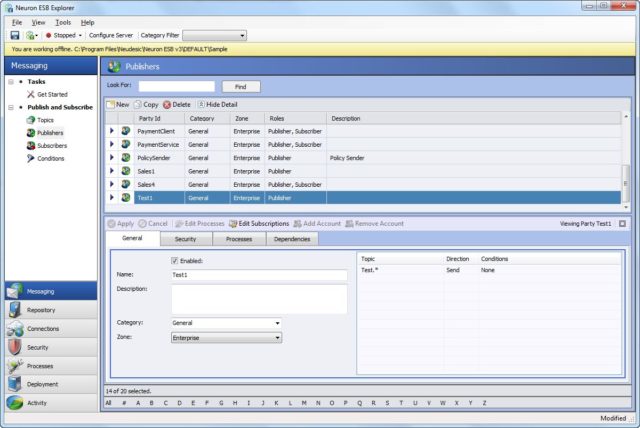
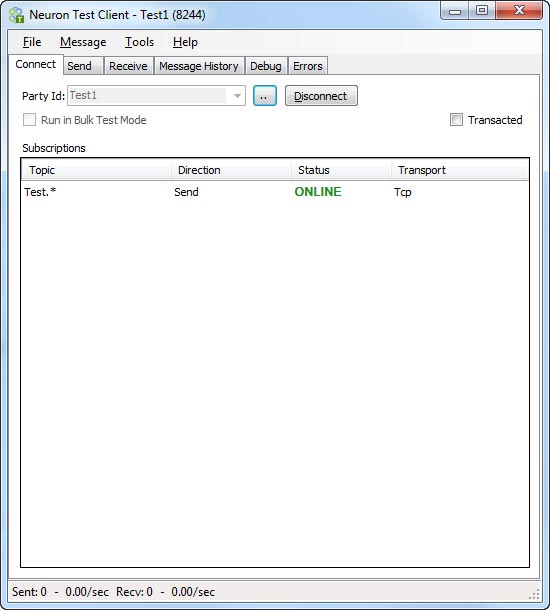
Several Publishers, specifically Test1:
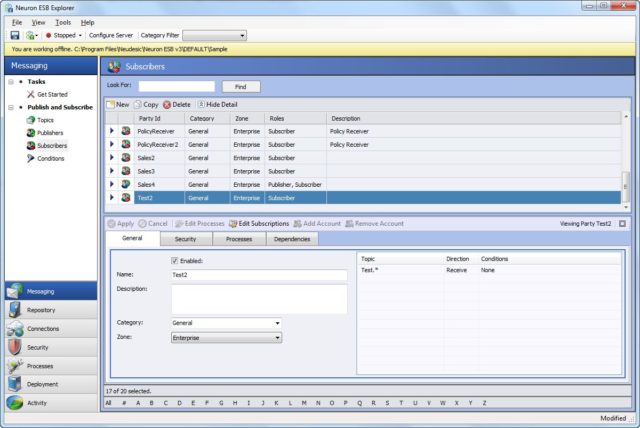
Several Subscribers, specifically Test2:
Configure the ESB Service
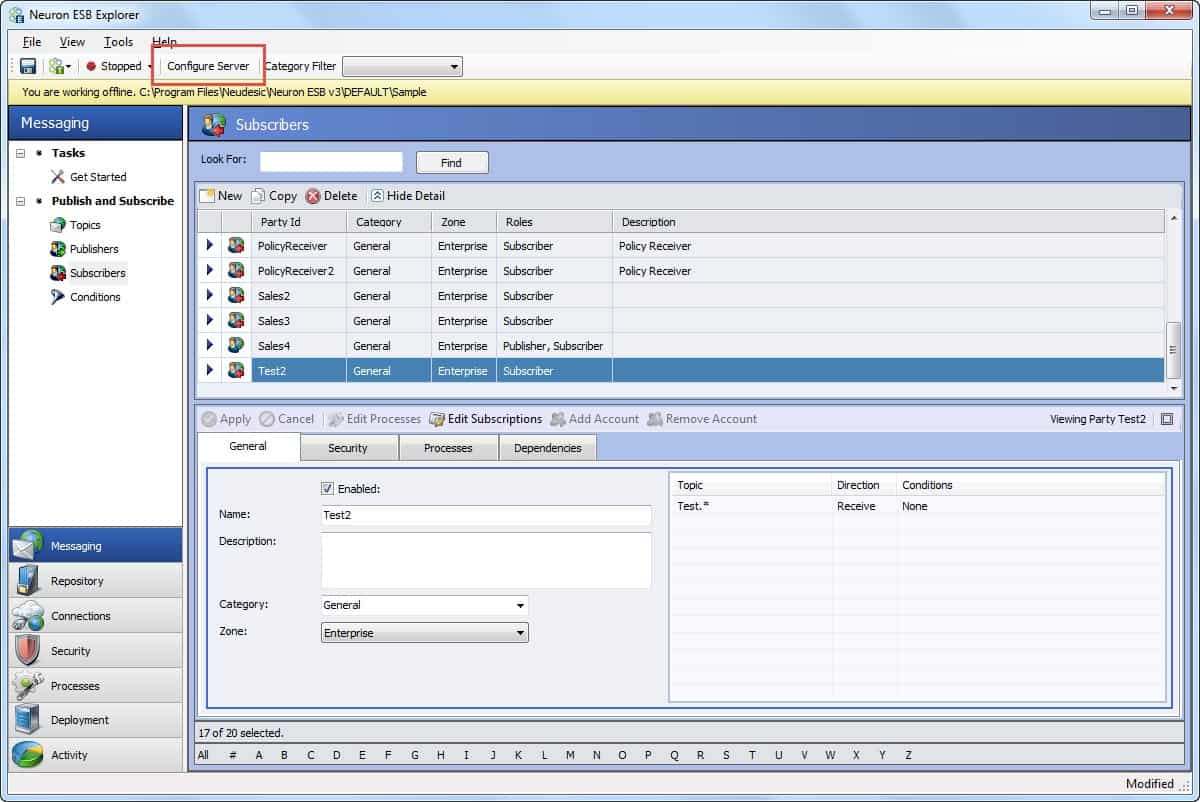
- Click on the Configure Server button:
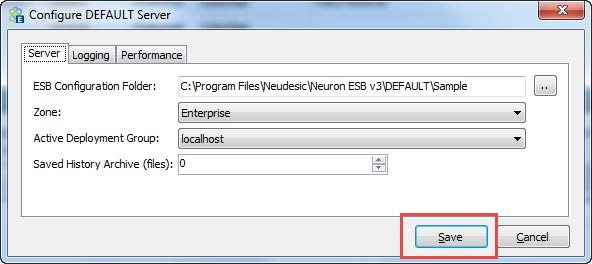
- In the Configure DEFAULT Server, click the ESB Configuration Folder click the ellipsis button:
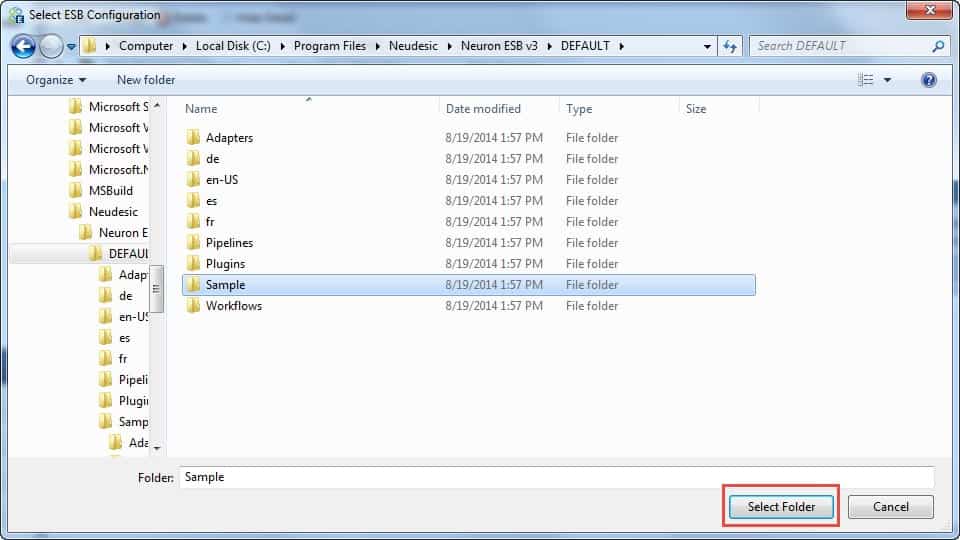
- Browse to <Program Files>\Neudesic\Neuron ESB v3\DEFAULT\Sample and click the Select button:
- After the solution is properly configured, click the Save button:
- Start (or Restart) the ESB Service using the dropdown in the toolbar:
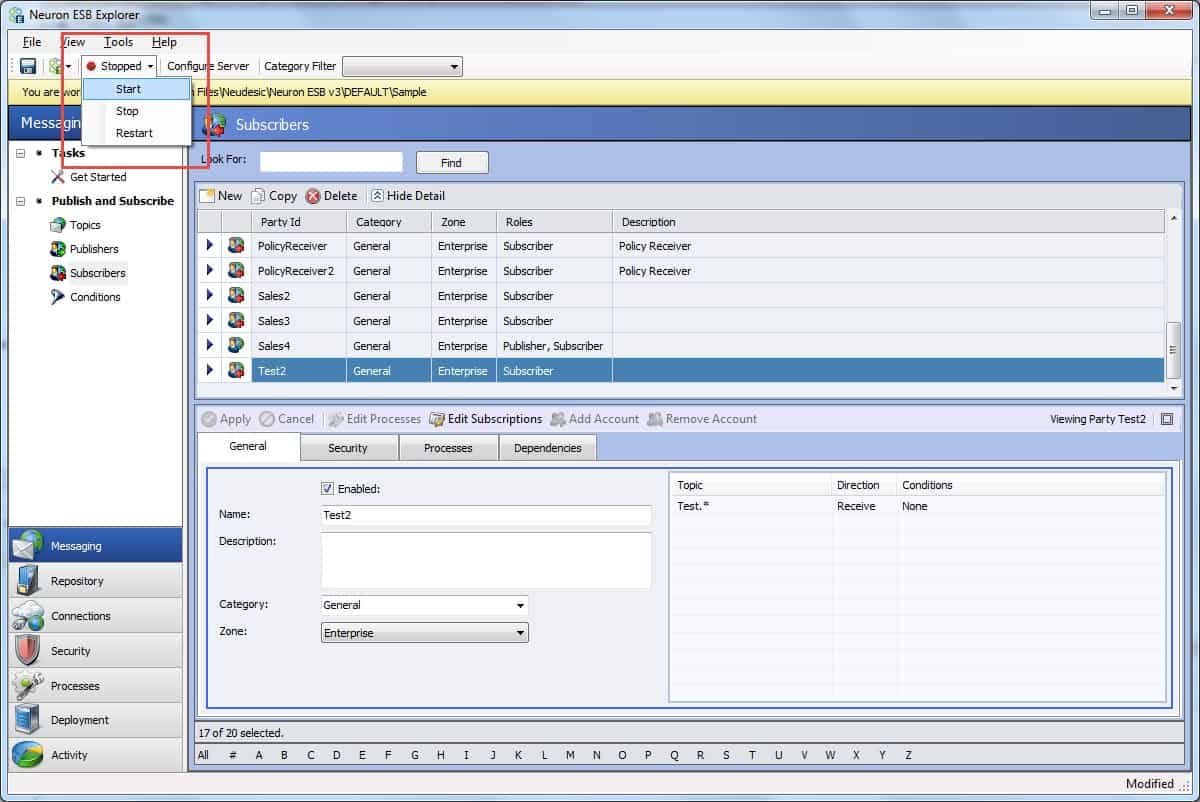
- The ESB Service state should now be Running.
- Close the Neuron ESB Explorer.
Using the Test Clients
The Neuron Test Client application can be used to quickly test an ESB configuration. This topic shows you how to use two test clients to verify that our Neuron installation and configuration is operational.
Running the Test Clients
Using two Test Clients, we can create a “chat” scenario and send messages between the two clients over the ESB.
To Run the Test Clients
- Start the Neuron Explorer, from the Start->Programs->Neudesic->Neuron ESB v3 menu. When the Neuron Explorer starts click the Connect button. If this is the first time you’ve started the Neuron Explorer after installing Neuron you will be prompted to start the Neuron ESB Service. Click Yes. The Neuron ESB Service will be started with the Sample configuration.
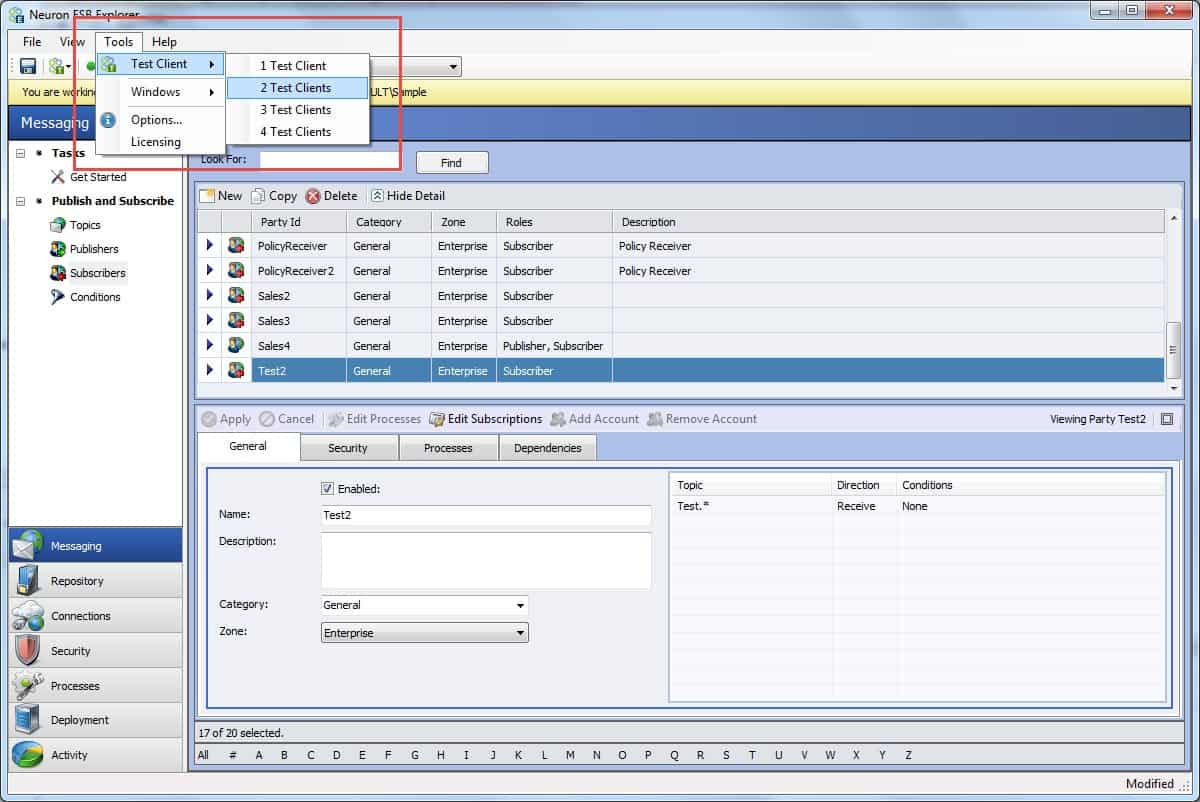
- From the Tools menus select 2 Test Clients. Two Test Clients are shown.
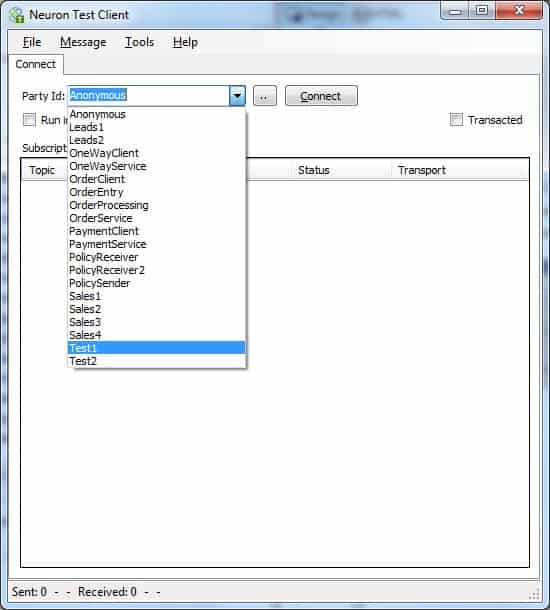
- In the first Test Client instance select Test1 from the Party Id dropdown box, and click Connect.
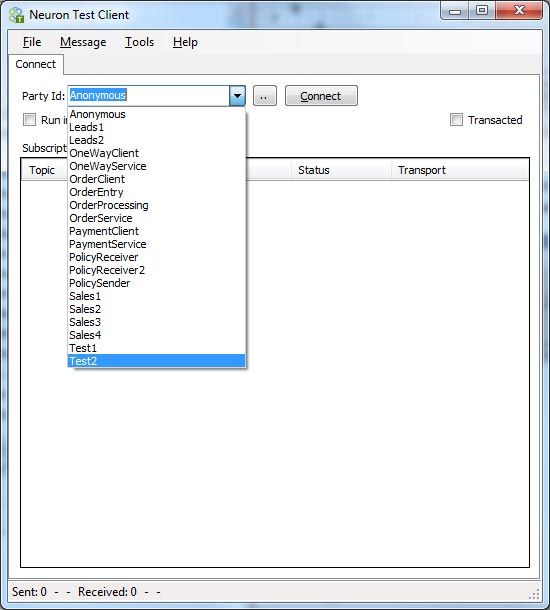
- In the second Test Client instance select Test2 from the Party Id dropdown box, and click Connect.
- The Subscriptions text box displays the subscriptions and their status.
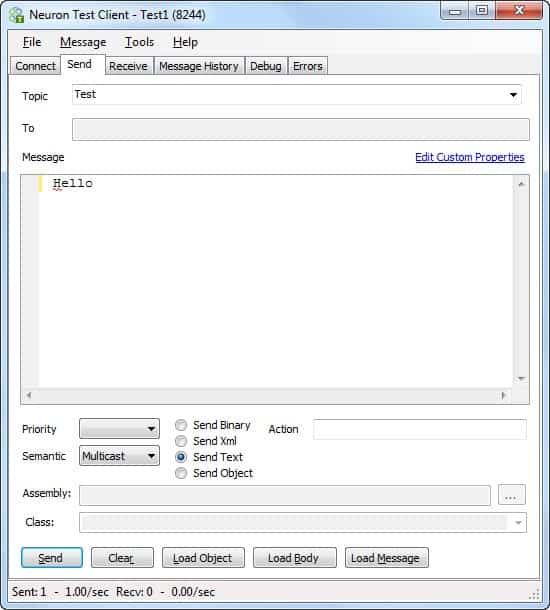
- In the Test Client instance connected as Test1, select the Send tab and type “Hello” into the Message text box. Click Send. A message containing “Hello” is sent over Neuron.
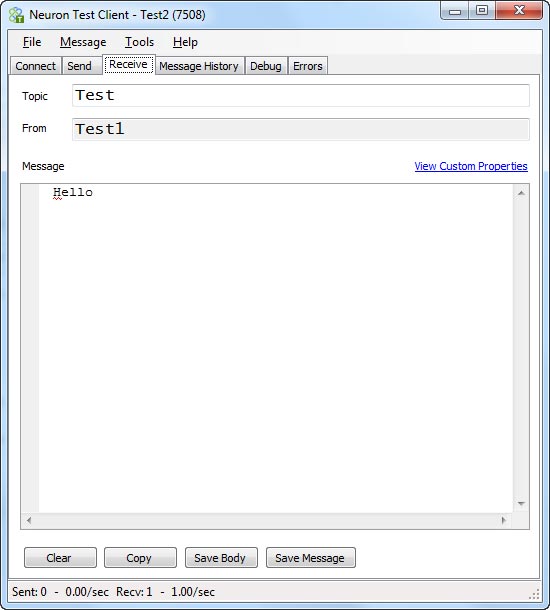
- In the Test Client instance connected as Test2, select the Receive tab and verify that “Hello” is shown in the Message text box.
- Your Neuron ESB is installed and configured correctly!
| If the process outlined above was not successful, refer to Troubleshooting for information on correcting any issues. |