Uninstalling Neuron
These procedures show you how to uninstall Neuron ESB.
Removing Neuron ESB
Neuron ESB is uninstalled using the Add/Remove Programs feature in Windows.
- Log on to the Neuron server using an account that has the required permissions to uninstall (for example, Domain\NEURONSETUP).
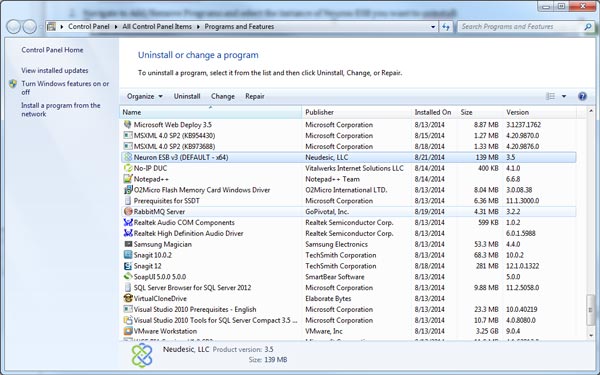
- Navigate to Add/Remove Programs and select the instance of Neuron ESB you want to uninstall:
- Click uninstall from the toolbar.
Note – The uninstaller only removes one instance of Neuron ESB at a time. If you need to remove multiple instances of Neuron, you will need to uninstall each instance individually.
Removing all Traces of Neuron ESB
During operation Neuron generates a variety of artifacts. These artifacts are stored in the installation folder and must be manually deleted after product installation in order to completely remove all Neuron associated files.
Verifying Complete Uninstallation
In order to verify uninstallation is complete, ensure the following conditions are met:
- All files in the installation folder are removed. The default installation folder is c:\Program Files\Neudesic\Neuron ESB v3, however this location may have been changed during setup.
- The Neuron registry key at HKEY_LOCAL_MACHINE\SOFTWARE\Neudesic\ESB is removed.
User Generated Content
User generated content is often stored in the installation folder. Uninstalling Neuron will not remove any of this content.
Neuron also creates log files (if enabled), and history files of your Neuron configurations, in this folder. This content will not be removed during the uninstall process either.
If the installation folder remains after uninstalling Neuron, user or system generated content remains in this folder.