SharePoint 2010 Publication Adapter
Overview
The Neuron SharePoint 2010 Publication Adapter allows the user to publish events to Neuron ESB in real time from SharePoint Server 2010 Lists or Libraries.
Features
The Neuron SharePoint Publication Adapter has the following features:
- Publish from Lists
- Publish from Tasks
- Publish from Libraries
- Publish
on multiple types of events:
- Item Added
- Item Updated
- Item Deleted
- Item Checked Out
- Item Checked In
- Item Checkout Discarded
- Include Attachments
The publication adapter supports two WCF Bindings for publishing messages to Neuron – WSHttp and NetMsmq.
Requirements
SharePoint 2010 – Any edition, including SharePoint Foundation
If using the NetMsmq binding for publishing messages to Neuron, you must have an MSMQ Server installed on the SharePoint server. This is a requirement even if the queues are remote.
Supported Modes
The Neuron SharePoint Publication Adapter is a publication only adapter. This means it sends messages one way from SharePoint to Neuron. The messages that the adapter sends are controlled by the subscriptions of the Party configured for the adapter.
Installation
The installation of the Neuron SharePoint Publication Adapter is divided into two steps. The first part of the installation must be performed on the Neuron Server using the Neuron ESB Explorer. The second part of the installation must be performed on the SharePoint 2010 Server.
Neuron – Client Connector Setup
The SharePoint 2010 Publication Adapter sends messages to Neuron using a client connector which must be created manually. The adapter supports either the WSHttp or the NetMsmq binding.
- Open the Neuron ESB Explorer and either connect to the Neuron Server or open the target configuration manually.
- Select the Connections tab on the left and then click Service Endpoints.
- Click New to create a new Service Endpoint.
- On the General tab, enter a Name, Description, Category and Zone, and select either WSHttp or NetMsmq as the Binding.
- On the Binding tab, set the values according to the table below:
WSHttp NetMsmq Messaging Pattern Request-Reply Datagram Reliable Sessions Disabled N/A Transactions None None or Neuron Managed - On the Security tab, select one of the following supported Security Models:
WSHttp NetMsmq Security Model None
Message:None
Message:Windows
Transport:None
Transport:WindowsNone
Message:None
Message:Windows
Transport:WindowsNote: The publishing adapter will only work with one of these security models. - Leave the other settings as their default values.
- On the Client Connector tab, select the Publisher Id and Topic the client connector will use when publishing messages to the bus and set the URL the client connector will use to receive messages. If using Message or Transport security you can set service credentials and/or and access control list.
- Verify the Enable Client Connector checkbox is checked.
- Click Apply and Save your changes. The client connector is now available for use with the publishing adapter.
Neuron – Process Processing Setup
The messages sent to Neuron by the SharePoint 2010 Publishing Adapter must be pre-processed in a process before additional routing can be performed. The following sections describe how a process is used, depending on whether you are using the WSHttp or NetMsmq binding with the client connector created above.
WSHttp Binding
When using the WSHttp binding with your service connector, the messages are sent to Neuron using a request-reply message pattern. This is to ensure proper error logging on the SharePoint server if message delivery to Neuron fails. However, once the message is delivered to Neuron you’ll want to treat it as a one-way message. To do this, you’ll utilize a process with a minimum of the following:
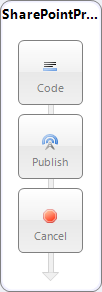
The shapes in this process perform the following actions:
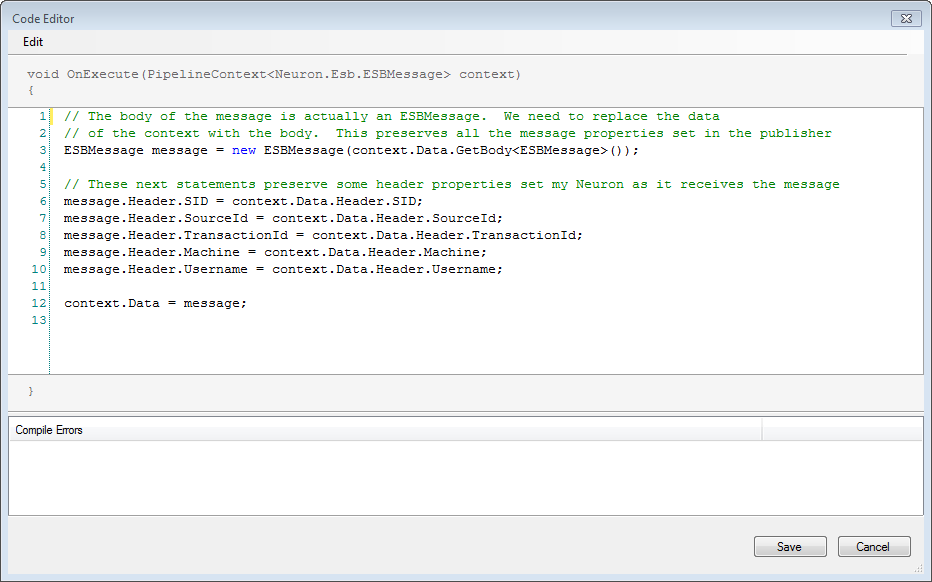
- Code Step – the body of the message sent by the publication adapter is actually a serialized ESBMessage create by the adapter. The code step will deserialize the body into a new ESBMessage and then replace the whole original ESBMessage with this new ESBMessage. The code step will also retain some of the original message header properties by copying them from the original ESBMessage to the new one. The code in the code step is:
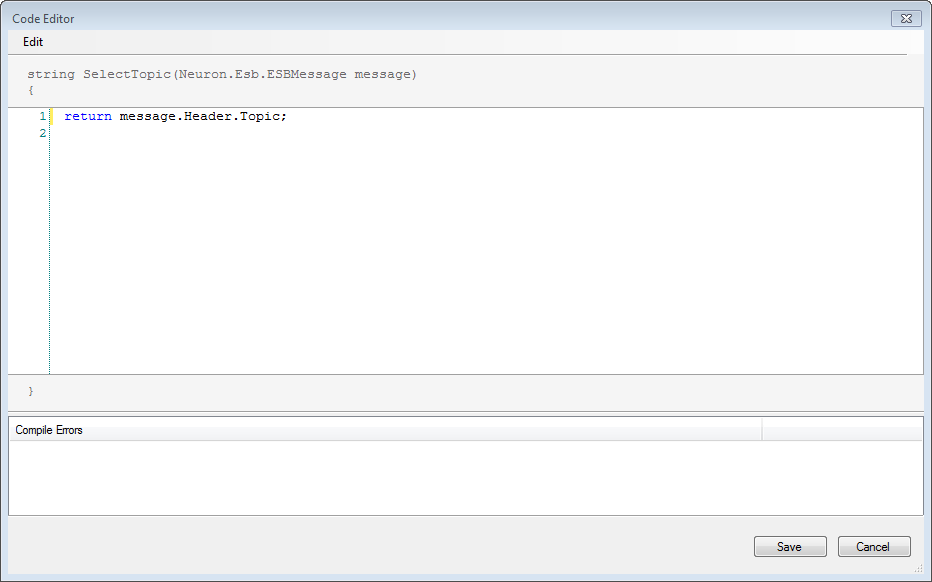
- Publish Step – the publish step will publish the message to the bus, using the Multicast semantic. The reason for this is that the message in the process would otherwise be published with the request semantic. The TopicSelector will use code to select the topic:
- Cancel Step – the cancel step will stop the process from publishing the original message to the bus. It will also force an empty response to be sent back to the publication adapter.
Additional processing of the message can be performed as needed. For example, instead of the publish step listed above you can perform dynamic routing based on any information contained in the message action, header or body.
NetMsmq Binding
When using the WSHttp binding with your service connector, the messages are sent to Neuron using a multicast message pattern. The publishing adapter sends the messages to a transactional queue and Neuron processes them. If Neuron is not available or there are other problems with message delivery, the message will remain in the queue until the problem can be resolved. Once the message is delivered to Neuron you will need to process the message in the process. To do this, you’ll utilize a process with a minimum of the following:
The shapes in this process perform the following actions:
- Code Step – the body of the message sent by the publication adapter is actually a serialized ESBMessage create by the adapter. The code step will deserialize the body into a new ESBMessage and then replace the whole original ESBMessage with this new ESBMessage. The code step will also retain some of the original message header properties by copying them from the original ESBMessage to the new one. The code in the code step is:
You do not need to use a Publish or Cancel step. The original message was published with a multicast semantic.
Additional processing of the message can be performed as needed. For example, instead of the publish step listed above you can perform dynamic routing based on any information contained in the message action, header or body.
SharePoint 2010 Server Setup
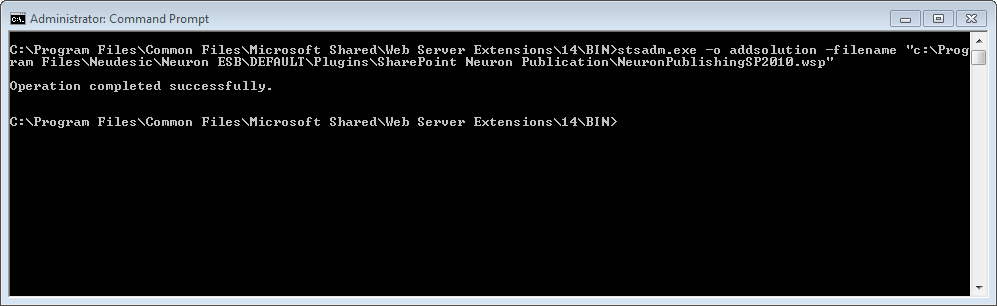
- Open a command prompt and navigate to the ..\Plugins\SharePoint Neuron Publication subdirectory under the main Neuron ESB installation directory.
- Type stsadm to see if stsadm.exe is in your path. If it is not, locate stsadm.exe on your machine and add the full path to stsadm.exe in step 3. The default path to this command is C:\Program Files\Common Files\Microsoft Shared\Web Server Extensions\14\BIN.
- Type stsadm.exe -o addsolution –filename NeuronPublishingSP2010.wsp
- Open SharePoint Central Administration and navigate to System Settings > Manage Farm Solutions
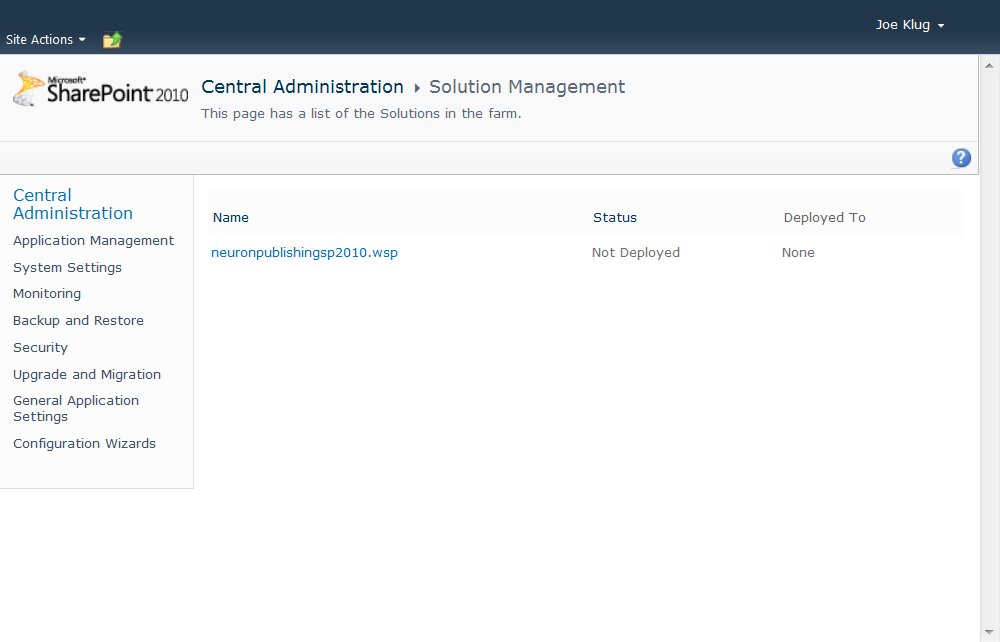
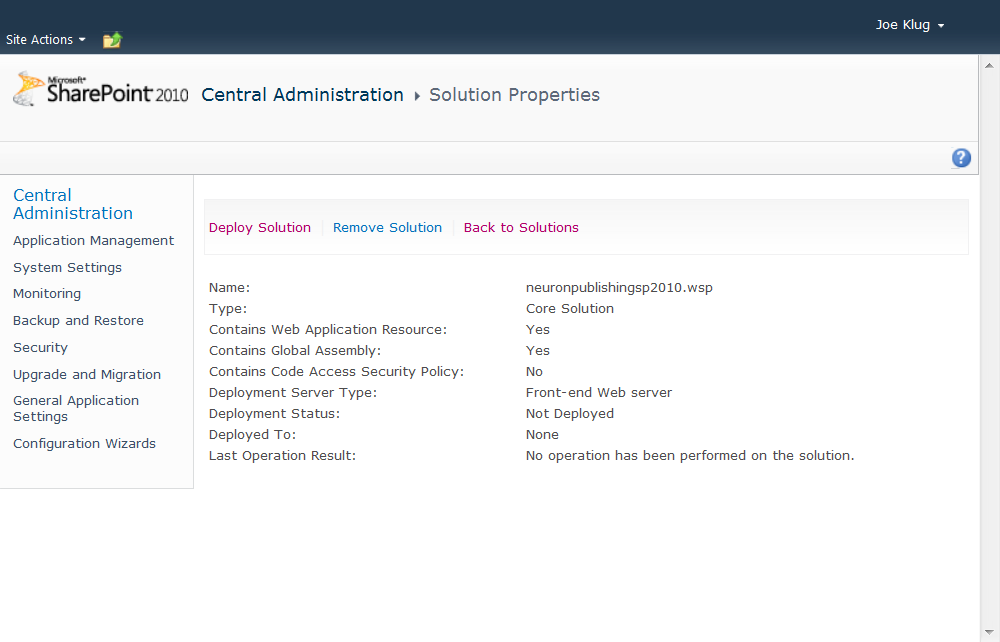
- Click on the neuronpublishingsp2010.wsp link and choose to deploy the solution
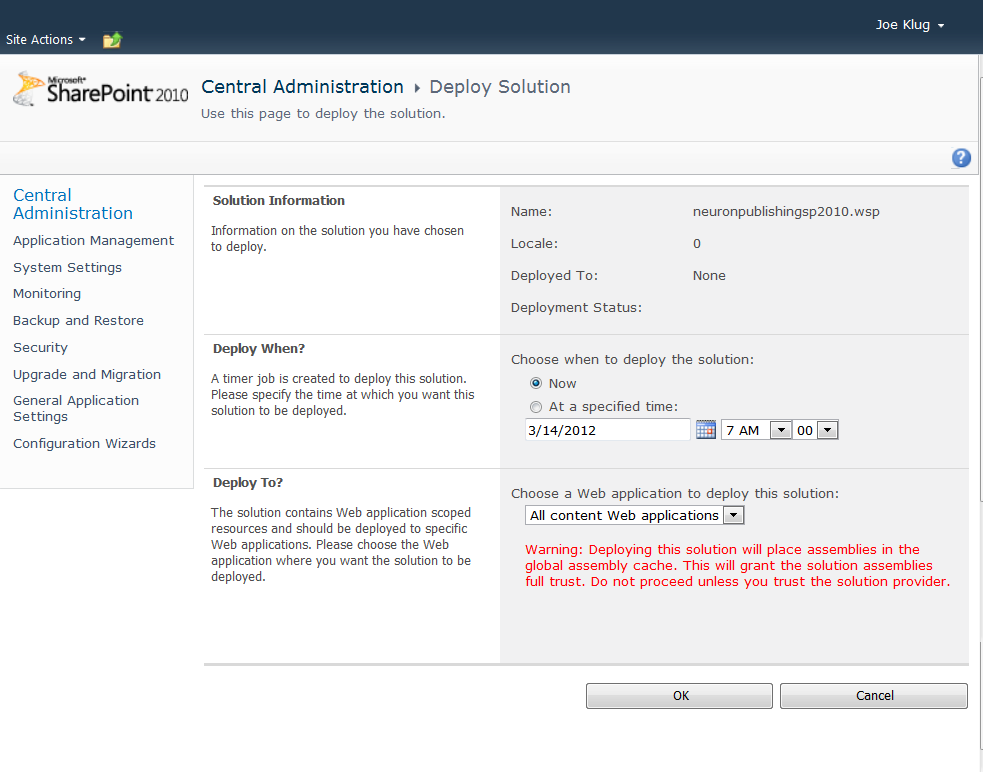
- Choose the options on the deployment page applicable for your environment and press the OK button.
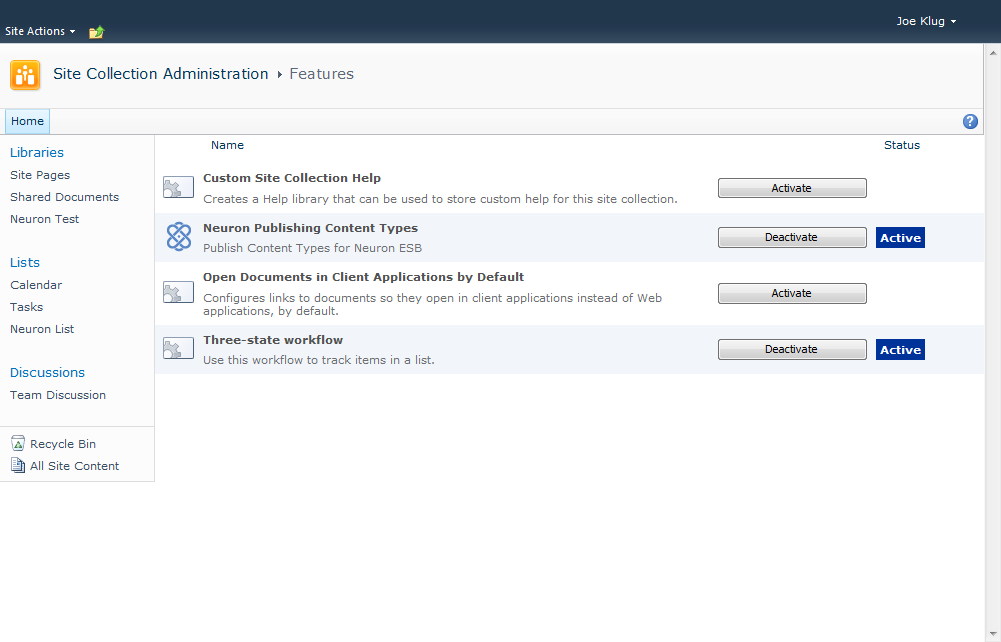
- Navigate to SharePoint site you wish to publish from and use the Site Actions Menu to navigate to Site Settings. Under the Site Collection Administration heading, click Site Collection Features and activate the Neuron Publishing Content Types Feature.
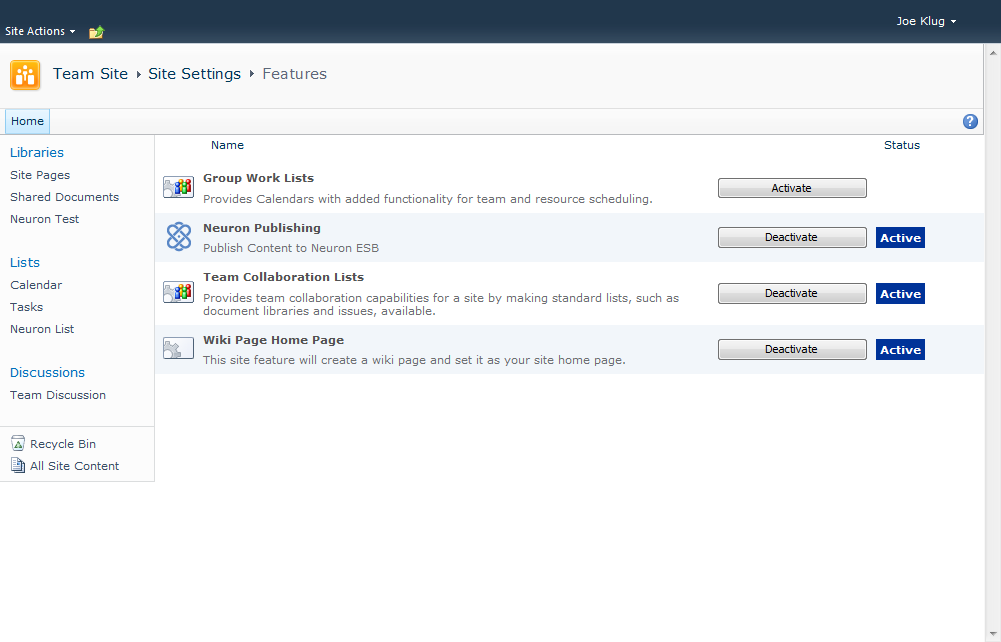
- Navigate back to Site Settings. Under the Site Actions heading, click Manage site features and activate the Neuron Publishing Feature
- Back on the main page Under Site Settings you will now see a link to configure the Neuron ESB Publisher.
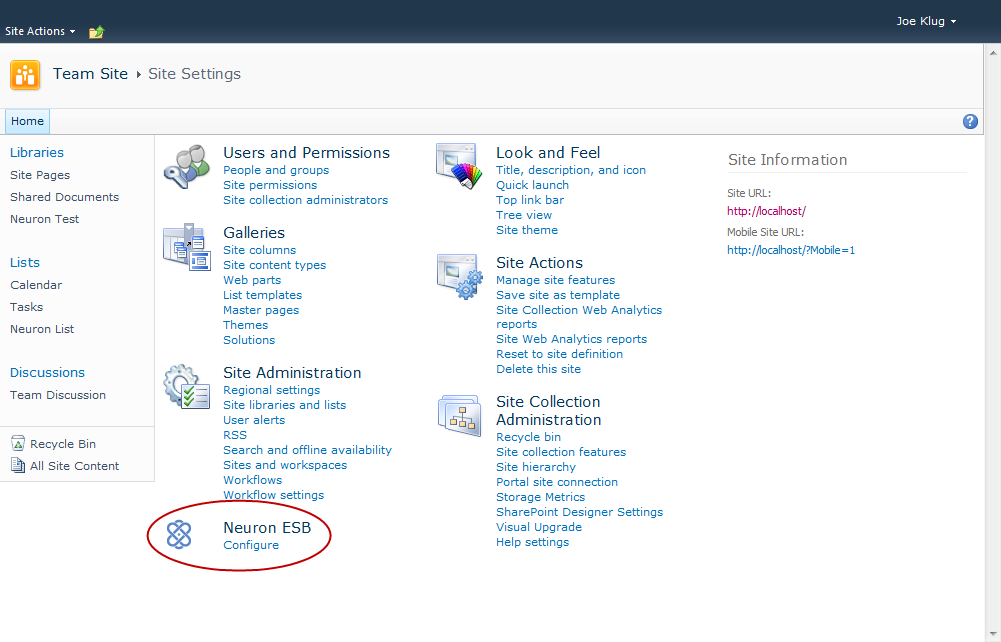
- Click the Configure link under the Neuron ESB header you should see a page similar to the one depicted below:
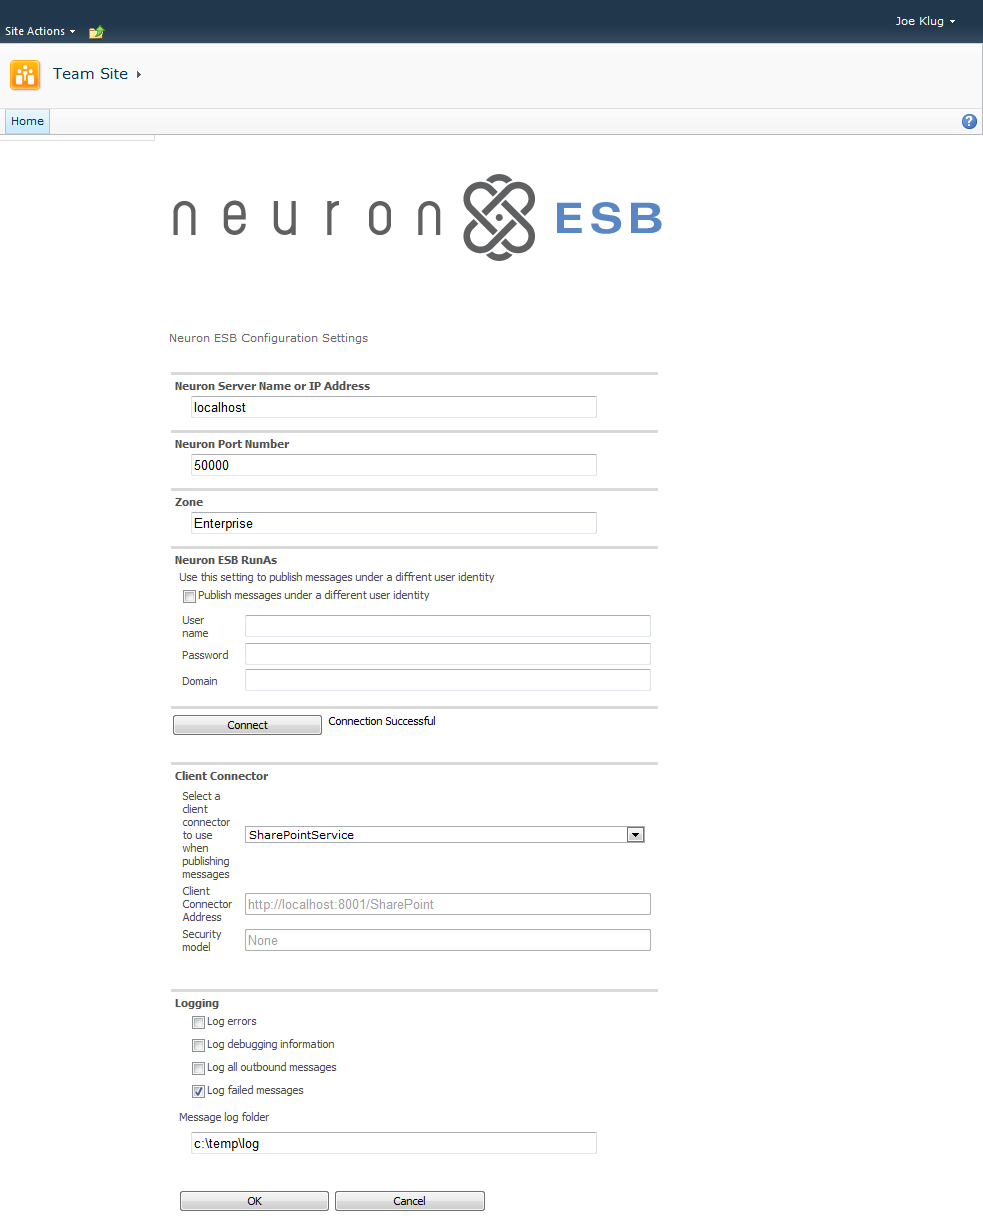
- Enter the Neuron Server Name or IP Address, Port Number for the bootstrap service, and the Zone to use for the Neuron connection. Optionally, choose to run the publisher as a specific domain user and choose connect.
- Select the Client Connector created in the Neuron ESB Explorer. The client connector address and security model are automatically displayed. These values cannot be modified.
- Select which the appropriate logging levels. The event log entries created by the logging will be added to the Application Event Log on the SharePoint Server under the Source SharePointPublisher. If you enable message logging, provide a folder to store the messages.
Note: When logging messages, the body of entire item being processed will be saved. This may include sensitive or confidential information. Please set the appropriate security attributes to the log folder. - Click OK.
Configuring Lists and Libraries
After Neuron integration has been enabled by following the steps in the “Installation” section, lists and libraries can be configured to send change notifications to Neuron. To configure a list or library, navigate to the list or library, click on the Library or List tools tab on the top and click the “Neuron ESB” icon in the Settings group on the SharePoint Ribbon.
Once you have chosen “Neuron ESB” you will see an options page similar to the following:
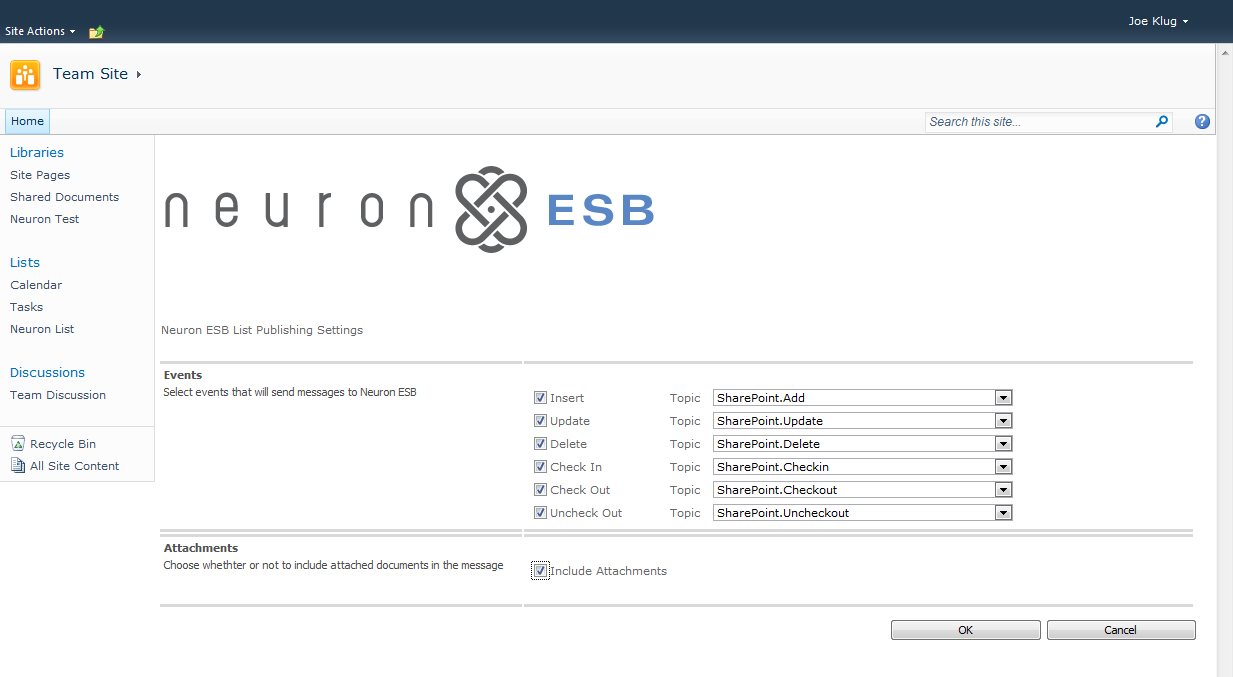
| Item | Description |
| Insert | Specifies whether a notification should be sent to Neuron when an item is added. A topic or subtopic must be selected to receive the notifications. |
| Update | Specifies whether a notification should be sent to Neuron when an item is updated. A topic or subtopic must be selected to receive the notifications. |
| Delete | Specifies whether a notification should be sent to Neuron when an item is deleted. A topic or subtopic must be selected to receive the notifications. |
| Check In | Specifies whether a notification should be sent to Neuron when an item is checked-in. A topic or subtopic must be selected to receive the notifications. |
| Check Out | Specifies whether a notification should be sent to Neuron when an item is checked-out. A topic or subtopic must be selected to receive the notifications. |
| Uncheck Out | Specifies whether a notification should be sent to Neuron when an item’s checkout is discarded. A topic or subtopic must be selected to receive the notifications. |
| Include Attachments | Specifies whether binary file data should be included in the message body. |
Metadata
Any field associated with the list item that has not been marked as “hidden” will be added as a custom property of the message using the “sp2010” prefix. The name of the SharePoint field will match the name of the custom property and the value will be a string representation of the field.
Message Format
If “Include Attachments” is specified file data will be sent to Neuron as binary content. The file data can be retrieved using the Bytes property of the ESBMessage.
If “Include Attachments” is not specified, or no attachments are available for the list, a message will be constructed as follows:
<ListItem><Action>ACTION_NAME</Action></ListItem>
The action that caused the notification will also be available in the Action header of the ESBMessage.
Additional metadata from the list will be attached to published messages as custom properties with “sp2010” prefix.
The contents of the file will become the body of the ESBMessage.