Original Neuron Installer
Neuron should be installed using the InstallNeuronESB.exe installer. However, the original MSI can still be used to install Neuron ESB.
Before you install Neuron ESB, be sure you have installed all prerequisites. For more information, see Prerequisites.
You can successfully install Neuron ESB using many different configurations. Be sure to review the procedural steps carefully before you start the installation. For information about troubleshooting the installation, see Troubleshooting.
Required Permissions
To perform this procedure, you must be a member of the Administrators security group on the computer.
Installing Neuron
- Be sure you have installed the necessary prerequisites for Neuron ESB. For more information, see Prerequisites.
- Log on to the server that you intend to use as the Neuron ESB server using an account that has the required permissions (for example, Domain\NEURONSETUP)
- Navigate to the Neuron ESB installation file (NeuronESB_v3_x64_Release.msi), and run the file. The Neuron ESB Setup wizard starts.
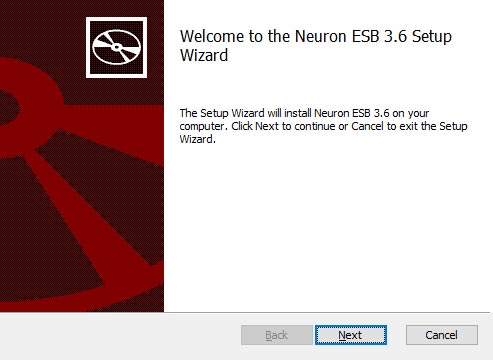
- On the Welcome to Setup page, click Next. The license terms page is shown.
- On the License Terms page, review the licensing terms. If you accept the terms and conditions, select the: I accept the terms of the License Agreement” check box, and then click Next. The Setup Type page is shown.
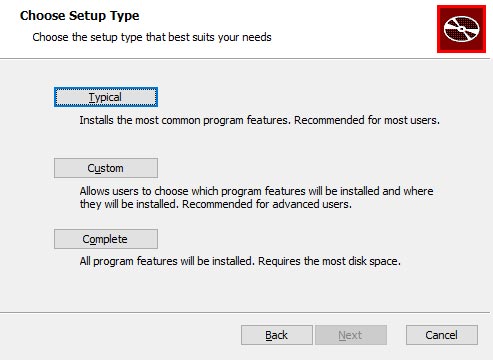
- On the Setup Type page, click the button for the type of installation you wish to install (for more information about installation types, see Specifying the Type of Installation).
- On the Custom Setup page, verify the installation features (they will vary depending on what you selected on the Setup Type page), and accept the default destination folder or specify a different destination folder (for more information see Specifying the Folder for Neuron Installation Components), and then click Next. The Customer Information page is shown.
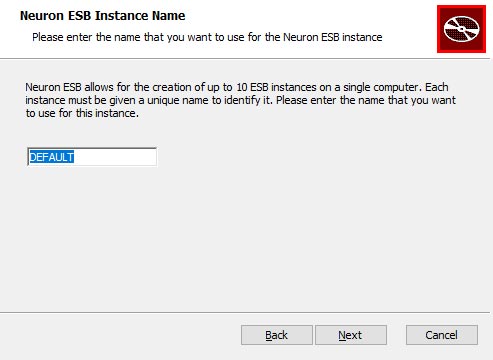
- On the Neuron ESB Instance Name page, enter the name of the Neuron ESB instance, and then click Next. If the instance name has already been used, you will receive a dialog stating the instance already exists.
- On the Customer Information page, enter your name, organization, and license key, and then click Next. The Next button will not be enabled until a valid license key is entered.

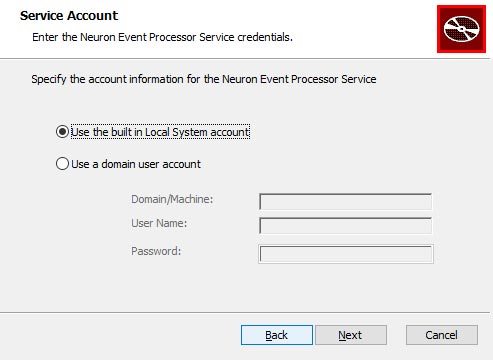
- On the Service Account page, choose either the built in Local System account to run the Neuron ESB service, or specify a specific account to use, and then click Next. For more information about specifying a different service account, see Specifying a Service Account for Neuron.

- On the second Service Account page, choose either the built in Local System account to run the Neuron Event Processor service, or specify a specific account to use, and then click Next.
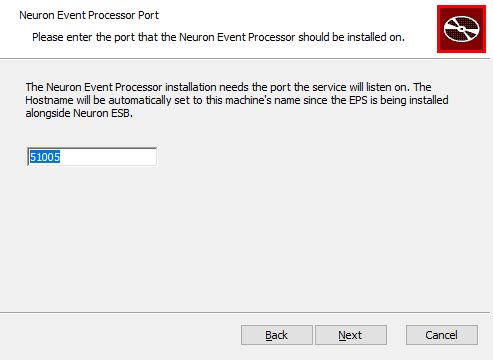
- On the Neuron Event Processor Port page either keep the 51005 port for the Event Processor, or enter a new port number, and then click Next.
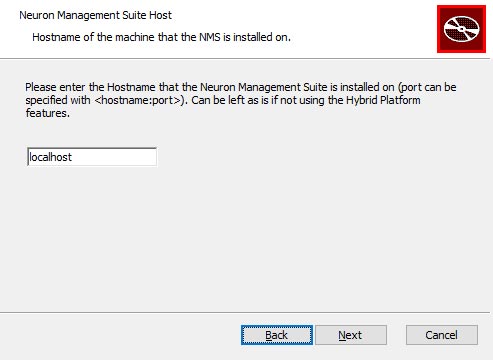
- On the Neuron Management Suite Host page either keep localhost as the hostname or enter a new hostname. You can specify a port as well, and if not then port 80 will be used.
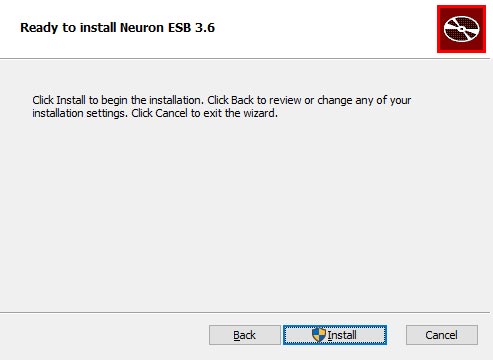
- On the Ready to Install page, click Next. The Installing Neuron ESB page is shown.
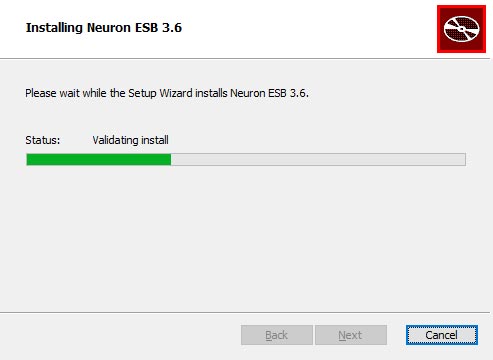
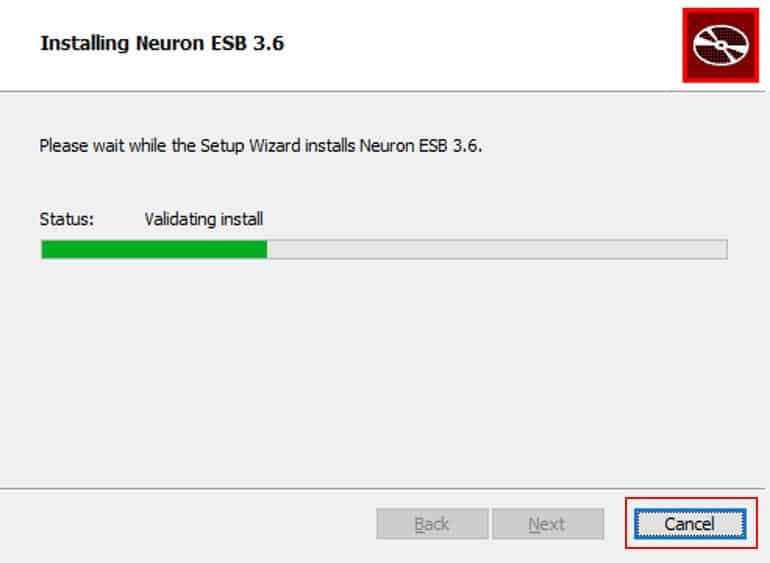
- On the Installing Neuron ESB page, wait for the installation to complete.
- On the Completion page, click Finish.
Cancelling Neuron Installation
To Cancel Neuron Installation
- Click the Cancel button at any point during the installation.
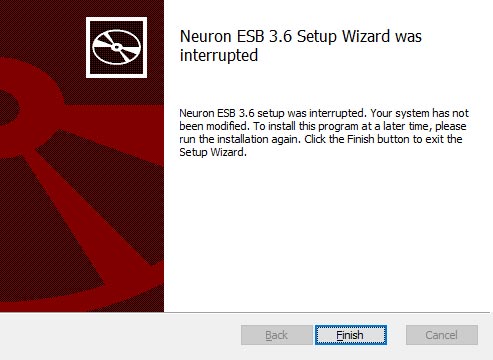
- When asked if you’re sure you want to cancel the installation, click Yes.

- On the Interrupted page, click Finish.
You can restart the installation at any time in the future by running the Neuron ESB installation file.