OAuth Authorization in Service Connectors
Neuron ESB supports obtaining OAuth access tokens using the following authorization services:
- Amazon
- Azure Active Directory/ADFS
- Dropbox
- Foursquare
- GitHub
- Microsoft Live
- SoundCloud
- SourceForge
- Tumblr
- Yahoo!
Registering an OAuth Provider
Configuring an OAuth provider for web services is very simple, but will require you to coordinate with the authorization service. Most authorization services will require you to register your application with them in order to obtain an identifier and secret value that is used to identify your application and authorize your application to act on behalf of you or your application’s users.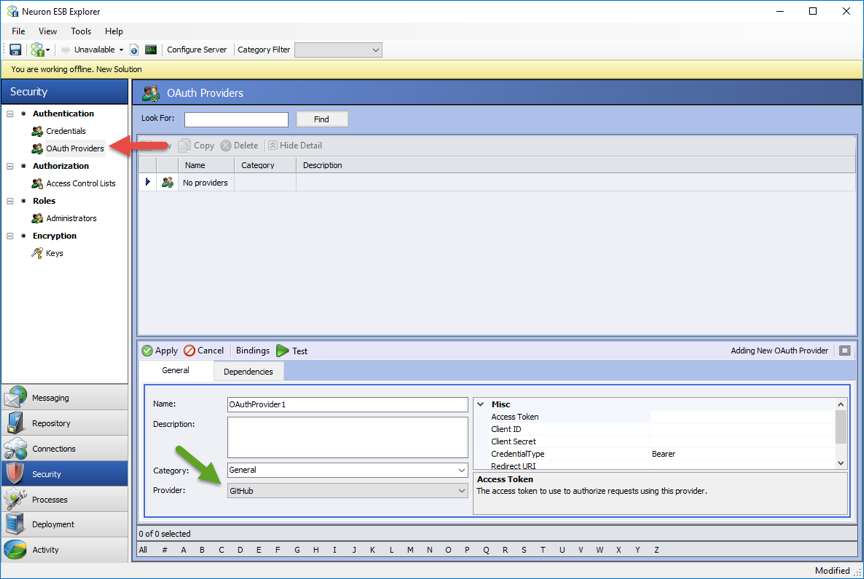
To begin, navigate to the Security tab in Neuron ESB Explorer and select the OAuth Providers node in the tree. Create a new OAuth provider and enter in a name. At the bottom of the details view is a list of providers. Select the authorization service provider that you want to use to obtain an access token for your application to use.
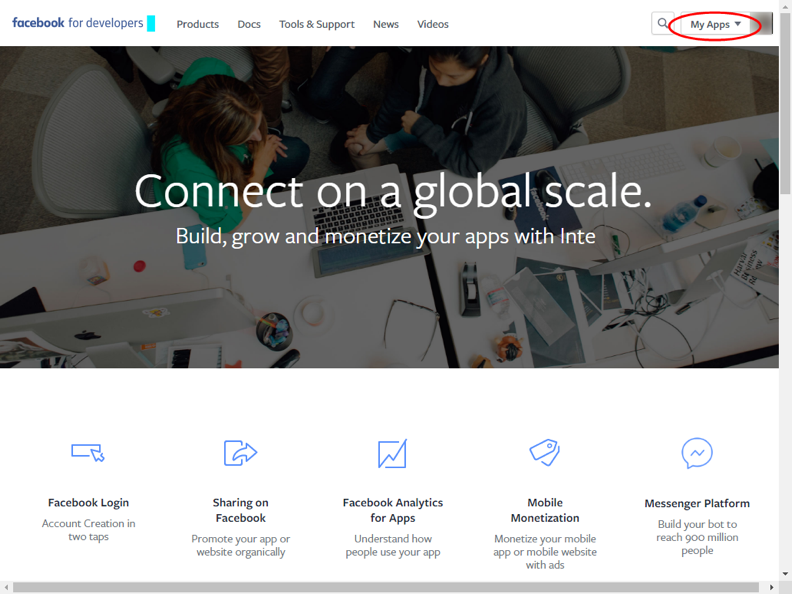
You will next need to register your application with the authorization service. For example, to use Facebook to obtain an access token to authorize access to remote web services, you will need to create an application at the Facebook Developer website.
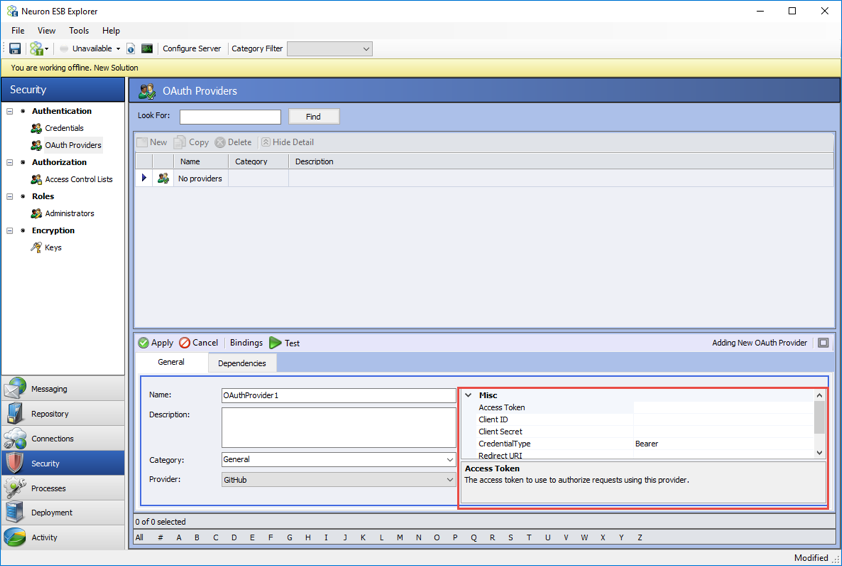
After creating your application, you will be able to access the client identifier and client secret. These values are used to identify your application to the authorization service and to authenticate the access tokens and codes from the authorization service. When you have these values, you should register them in the OAuth provider’s properties in Neuron Explorer:
You will typically also need to register a callback URI with the authorization service when you register your application. The callback URI is used as part of the OAuth 2.0 protocol to redirect the user back to your application after signing into the authorization service. You can use any URL. During the OAuth authentication process, Neuron ESB’s OAuth providers will use the URI to determine when the authorization process has completed successfully in order to obtain the access token from the authorization service for the OAuth provider.
After your OAuth provider is configured, you can test the provider within Neuron ESB Explorer using the web-based flows. By clicking on the Test button in the toolbar for the detail view, a web browser will be opened and you will be able to validate that the client identifier, secret value, and redirect URI are correct by authenticating with the authorization service and obtaining an access token.
Using an OAuth Provider in a Service Connector
Once an OAuth provider has been configured, it can be used by a RESTful service connector to invoke web services from a remote web service. All that is necessary is to associate your OAuth provider with the service connector using a new drop-down list that has been added to the service connector detail tab: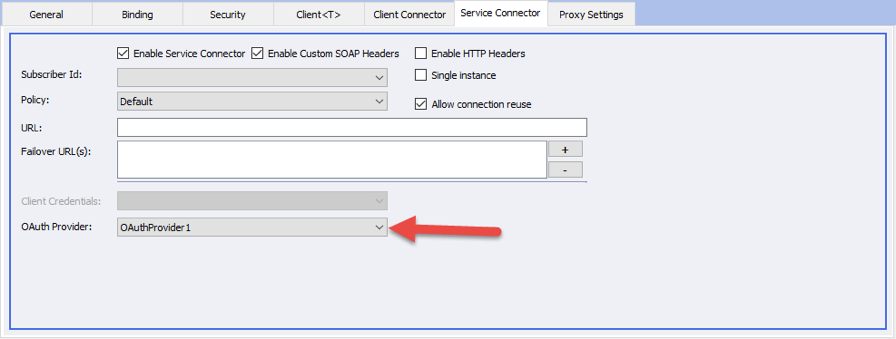
Once the service connector has been configured with an OAuth provider, the service connector will use the OAuth provider’s access token to invoke the remote web service. The access token will be passed to the remote web service as a bearer token using RFC 6750.