Neuron ESB Explorer UX
With the release of Neuron ESB 3.5, users no longer are presented with a “Connect” dialog when they first launch the Neuron ESB Explorer. In previous versions (as shown in the image below), users were presented with a dialog where they could either connect to a Neuron ESB runtime instance, open a solution offline, or create a new solution.

However, using the Connect dialog was the only way a user could work with any solution. There was no File menu options that allowed users to directly open or create solutions. This could impede productivity for users who needed to switch between several solutions.
In this latest release, when users launch the Neuron ESB Explorer executable (NeuronExplorer.exe), they are presented with the Neuron ESB Explorer IDE rather than the Connect dialog as in previous versions. The Neuron ESB Explorer IDE includes new File menu options such as “New”, “Open” and “Connect…”, effectively replacing the functionality of the “Open”, “Connect” and “Create” buttons that existed in the pre-3.5 Connect dialog.
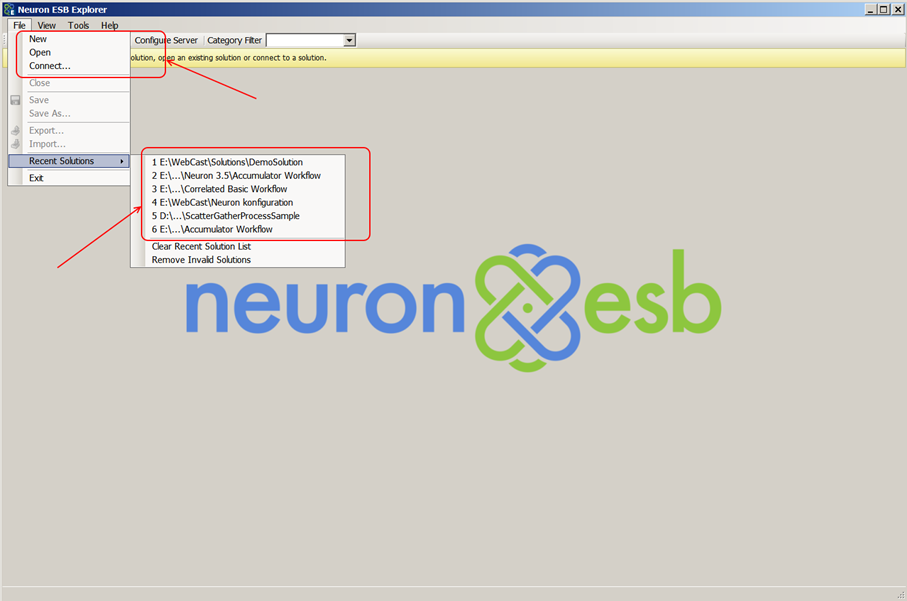
Additionally, a “Most Recently Used” menu list has been implemented so that users no longer have to search for solutions that they had previously opened.
When connecting to either local or remote instances of the Neuron ESB runtime, users can select “Connect…” from the File menu, launching a new “Connect” dialog as shown in the figure below.
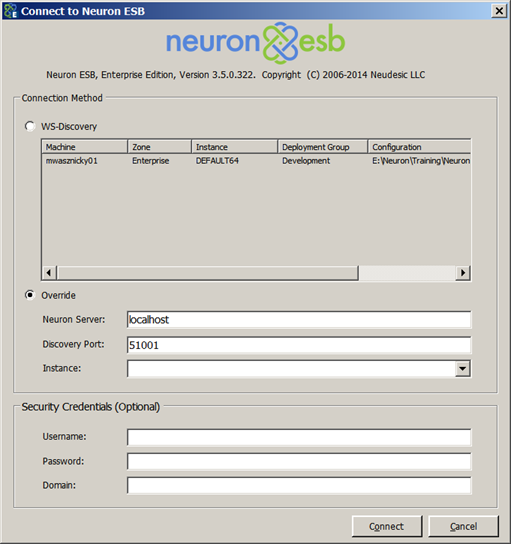
The new Neuron ESB 3.5 Connect dialog is used exclusively to connect to local or remote instance of the Neuron ESB runtime. By default, the Override option is selected and uses the same Neuron ESB Discovery service that was used in previous versions, providing a list of all running Neuron ESB instances on a machine. However, this required users to know what machines had Neuron ESB runtime instances installed. Also, the user would never know if the Neuron ESB runtime selected was started until a connect attempt was made.
This same Connect dialog is also exposed through the Neuron ESB Test Client through the Tools -> Connection Settings menu.
Starting with Neuron ESB 3.5, Neuron ESB runtime instances have been enabled with WS-Discovery. Assuming local networks support WS-Discovery broadcasts, users can select the WS-Discovery option on the Connect dialog. When selected, WS-Discovery will be used to find all the Neuron ESB runtime instances started on the network. Users can double click on any instance to connect to it.
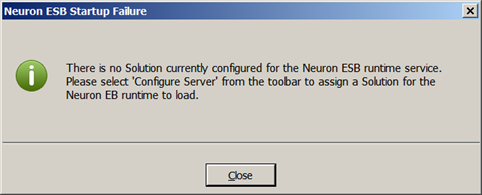
Lastly, although not necessarily related to the UX experience, when users install Neuron ESB 3.5, the local runtime instance is no longer configured with the Sample Solution. If the Neuron ESB runtime instance is started from the Neuron ESB Explorer’s toolbar menu, the following dialog will be presented to the user