Installing the Workflow Plug-in
Overview
The CRM Workflow Plugin is installed on the Dynamics CRM 2011 or 2013 Servers that host the Asynchronous Service. This includes CRM servers that were installed with the Full Server Role Group, Back End Server Role Group or the Asynchronous Service Server Role. If there are multiple servers hosting the Asynchronous Service, then the Workflow Plugin must be installed on each server that hosts that service. See Farm Installation below.
For more information about using the Microsoft CRM Deployment Manager, please go here.
This identity may need additional permissions. See “Add Deployment Administrators” for more information.
Requirements
The Dynamics CRM 2011 Workflow Plug-in has the following requirements:
- .NET Framework 4
- Microsoft Dynamics CRM 2011 or 2013
Installing
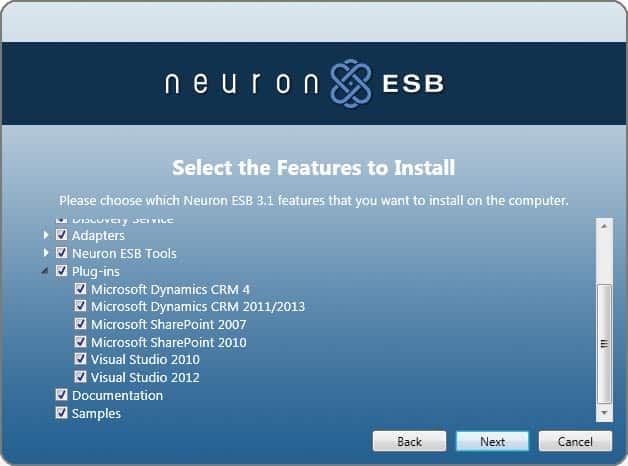
The Neuron Dynamics CRM Workflow plugin msi is installed in by the Neuron ESB installation program. Make sure you select the Microsoft Dynamics CRM 2011/2013 plug-in on the Select the Features to Install page of the installer:
The plug-in installers are copied to the instance directory of the Neuron installation. For example, if the Neuron instance is named Default, the plug-ins will be found in “<Neuron Install Path>\DEFAULT\Plugins”.
- Copy the installer from “<Neuron Install Path>\DEFAULT\Plugins\Crm 2011 Neuron Publication” to the Dynamics CRM Serer:
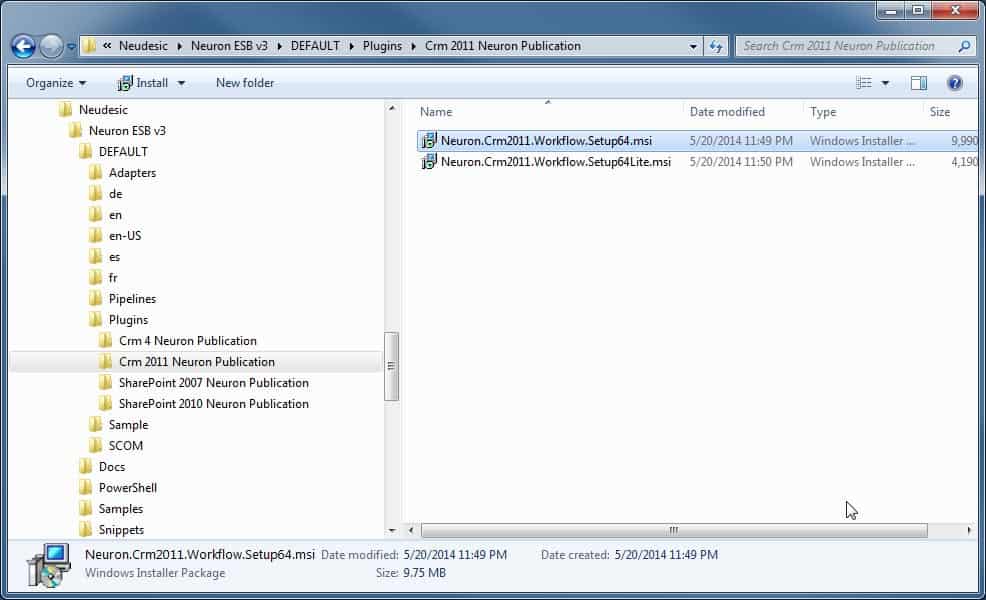
- On the Dynamics CRM Server, execute the installer Neuron.Crm2011.Workflow.Setup64.msi. The Welcome page is displayed.
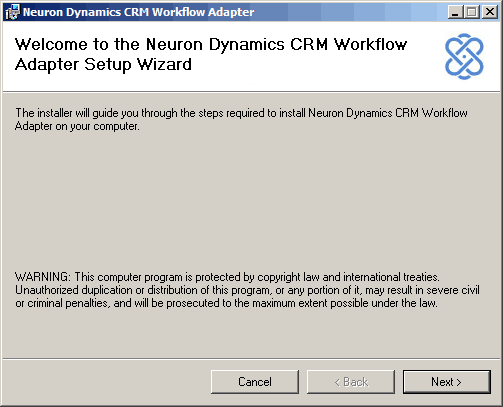
- Click Next. The Installation Location page is displayed.

- Click Next. The CRM Server Information page is displayed.
Enter the following information:- Server – Enter the fully qualified domain name of the server hosting Dynamics CRM (this is the server you are installing the Neuron Dynamics CRM Workflow Extensions onto).
- Port – Enter the port number that the Dynamics CRM Web services can be accessed at. Leave this at the default of port 80, unless you are certain it has been changed.
- Organization Name – Enter the name of the Dynamics CRM organization entity that you want these extensions to be associated with.
The Server name may be different than the server you are installing on if you have separated the Front End Server Group Role from the Back End Group Role. Also set the port the Web Services are listening on and the CRM Organization Name that will use the plug-in.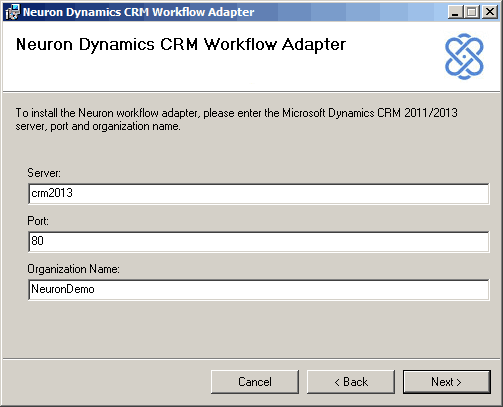
Dynamics CRM supports multiple organizations. The extensions are only associated with a single organization. This entry cannot be changed after installation.
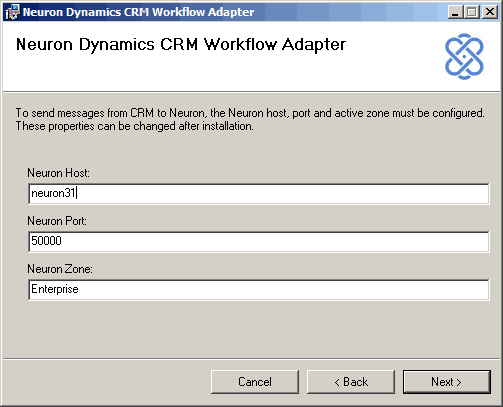
- Click Next. The Neuron Server Information page is displayed.
Enter the following information:- Neuron Host – Enter the fully qualified domain name of the server hosting Neuron.
- Neuron Port – Enter the port number of the Neuron bootstrap service. Leave this at the default setting unless you are certain the port has been changed.
- Neuron Zone – Enter the zone name that the Neuron configuration is operating as.
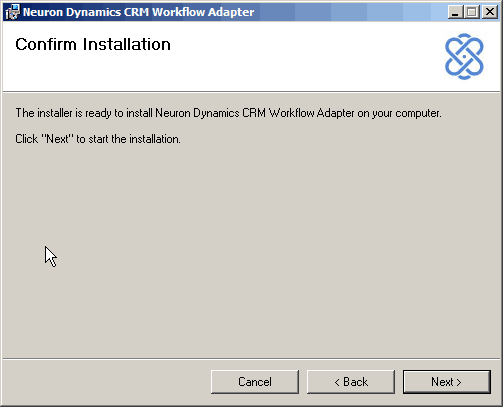
- Click Next. On the Confirm Installation page, click Next to install the plugin:
- During the installation you will be prompted to enter the credentials for a user that is a Deployment Administrator on Dynamics CRM. Enter the domain, username and password and press OK:
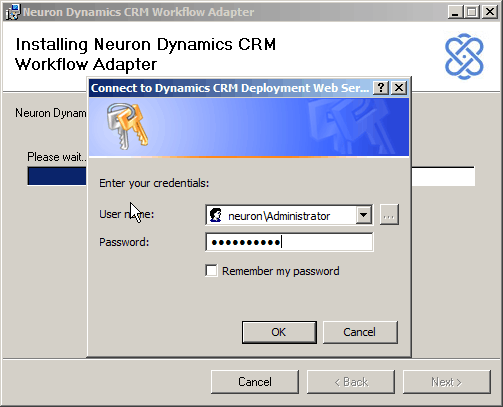
[ mkb -info]Occasionally the credentials dialog may appear behind the main installer window. If the installer appears to stall, move the window to reveal the credentials dialog. [/mkb -info] - When the installation completes, the Information page appears. Review the content and click Next:

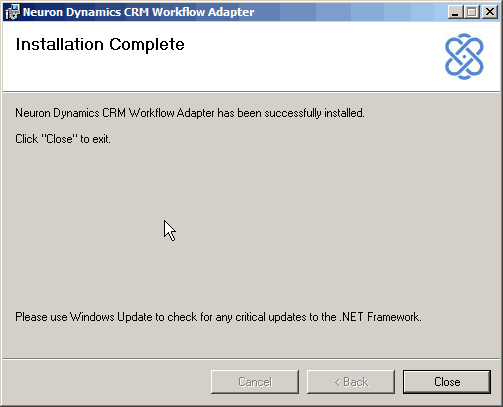
- On the Installation Complete page, click Close: