Installing Neuron ESB 3.6
These procedures show you how to install Neuron using InstallNeuronESB.exe. You can still use the original MSI to install Neuron, see the topic Original Neuron Installer. To upgrade an existing Neuron deployment, see Upgrading Neuron.
Before you install Neuron, be sure you have installed all prerequisites. For more information, see Prerequisites.
You can successfully install Neuron using many different configurations. Be sure to review the procedural steps carefully before you start the installation. For information about troubleshooting the installation, see Troubleshooting.
The Neuron ESB installation is available in 64 bit only, and is downloaded in a single ZIP file. When you extract the contents of this download, you will see the necessary files for installation:
- InstallNeuronESB.exe
- README.html
- NeuronESB_v3_x64_Release.msi
Required Permissions
To perform this procedure, you must be a member of the local Administrators security group (BUILTIN\Administrators) on the computer.
Installing Neuron
- Be sure you have installed the necessary prerequisites for Neuron. For more information, see Prerequisites.
- Log on to the server that you intend to use as the Neuron server using an account that has the required permissions (for example, Domain\NEURONSETUP). This account must be a member of the Local Administrators group (BUILTIN\Administrators), but should not bea member of the domain Administrators group.
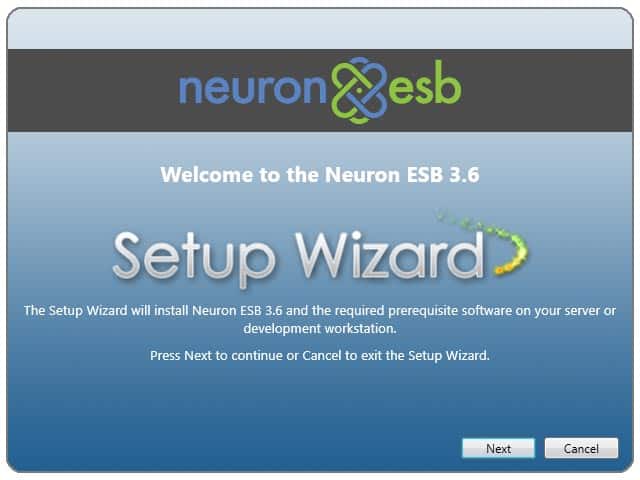
- Extract the files for the platform you want to install and double click IntallNeuronESB.exe and then click Run. The Neuron ESB Setup wizard starts. The following screen should appear.
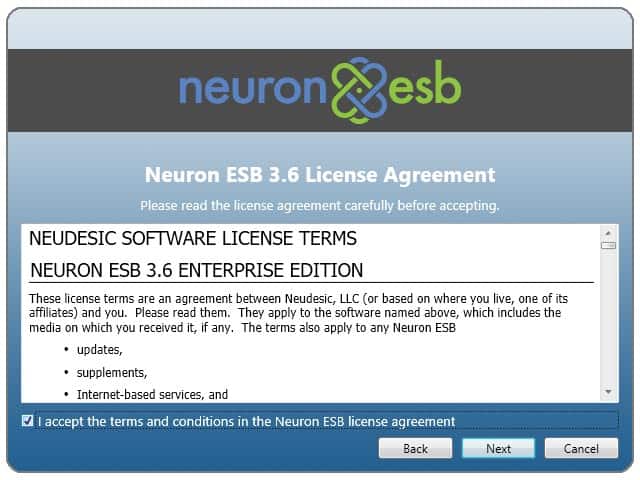
- Click Next and accept the license agreement.
- Enter the appropriate license key. Neuron ESB keys are based on either the machine name or the domain name your computer belongs to.

- On the following screen, select the software packages to install. If you want to try out RabbitMQ-based topics, select Erlang and RabbitMQ Server. Erlang is a prerequisite for RabbitMQ. The versions installed are:
– Erlang 20.2
– RabbitMQ – 3.7.1
Both of these packages are downloaded from the Neuron ESB Web server during installation. If you select them make sure your machine has an internet connection.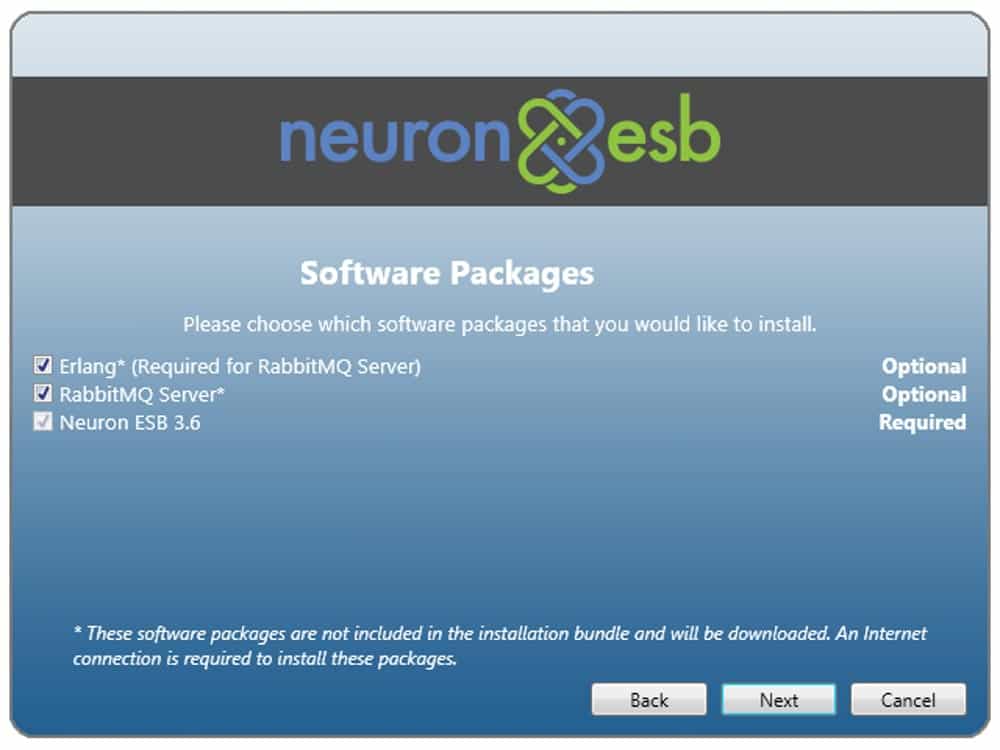
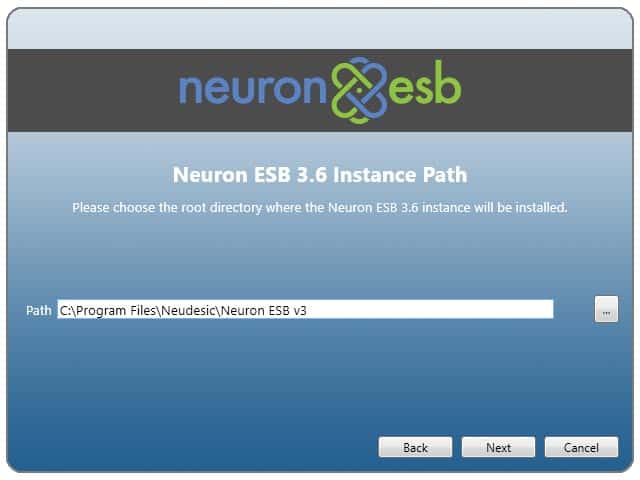
- Enter the path to install Neuron ESB, or leave the default value.
- On the following screen select the options to install and click Next. By default all options are selected. If you want to perform a specific type of install, select the options based on this table:
Setup Type Options to Select Neuron Event Processor Installs the Neuron Event Processor used to integrate Neuron ESB 3.6 with the Neuron Hybrid Integration Platform. Neuron ESB 3.6 All components for Neuron ESB Neuron ESB Client API Neuron Client API ESB Service Neuron Client API, Neuron ESB Runtime Service Discovery Service Registration Service. Required for Neuron ESB Runtime Service Adapters Neuron ESB Adapter library. Includes all types Neuron ESB Tools Neuron Client API, Neuron ESB Explorer, Neuron ESB Test Client Plug-ins SharePoint and Dynamics CRM plugins Documentation Full CHM version of online documentation Samples Approximately 50 Neuron ESB Samples 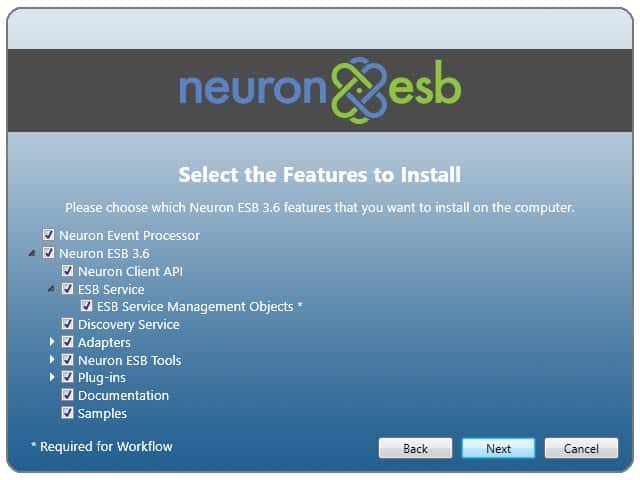
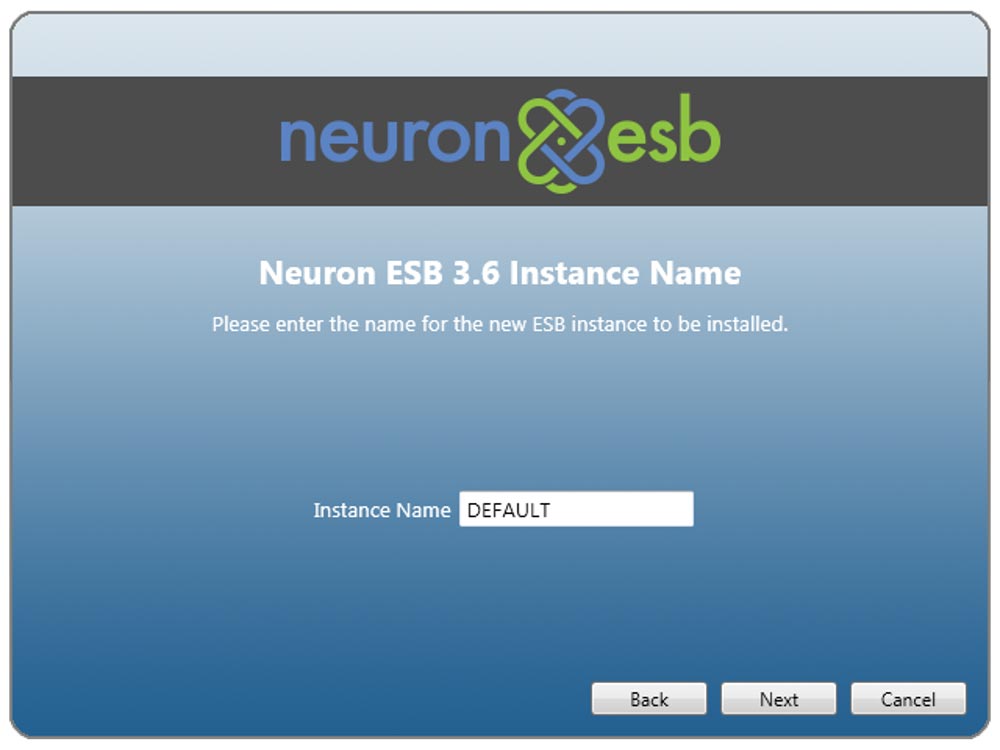
- The setup program can be used to install multiple instances of Neuron ESB. This allows the hosting of multiple Neuron ESB Configurations on the same server. You should consider naming your instances according to the workload they will handle, i.e. “PayrollProcessing”.
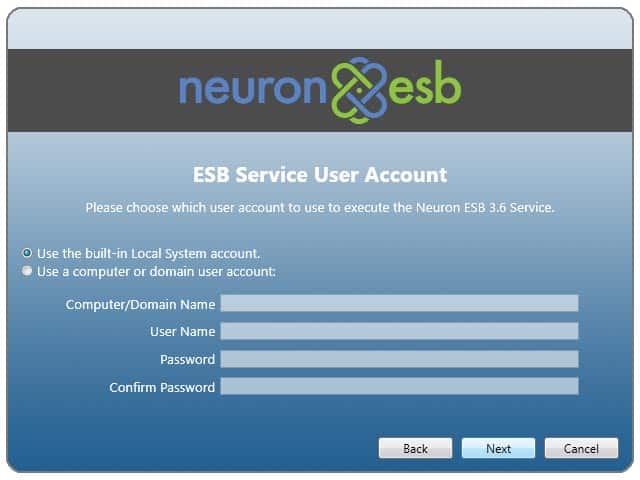
- Leave the default choices in place so that Neuron ESB is running as the Local System account. For more information on which type of account to use, see Specifying a Service Account for Neuron.
- Leave the default choices in place so that the Event Processor Service is running as the Local System account.
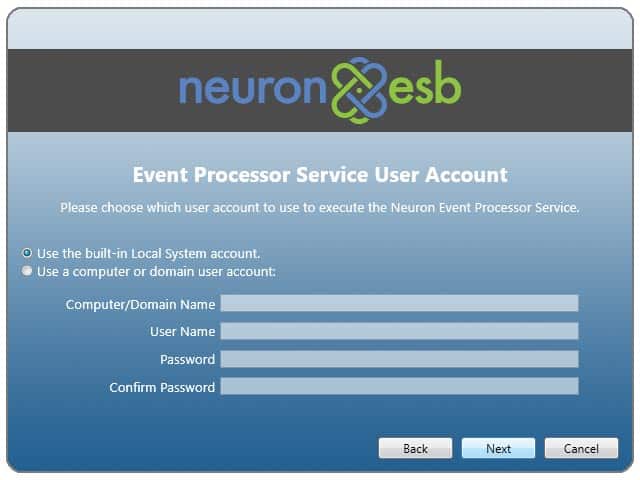
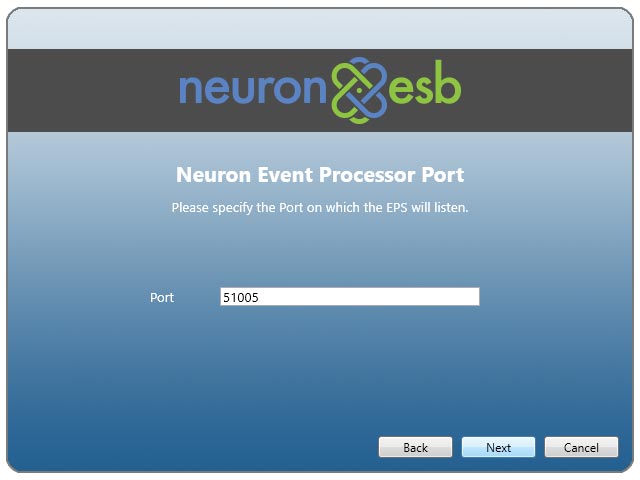
- Leave the Event Processor Port set to 51005 and then click Next.
- Leave the default settings for the Neuron Management Suite Connection.
The Neuron Management Suite Connection is used in conjunction with the Neuron Management Suite. If not using the Neuron Management Suite, the port will not be used by Neuron ESB so the default port should not be changed.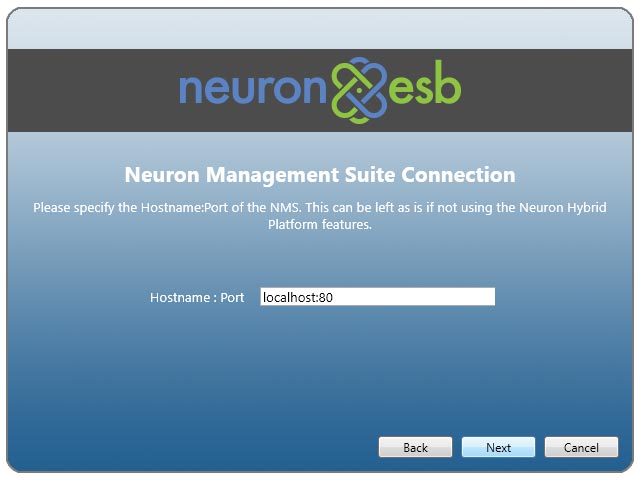
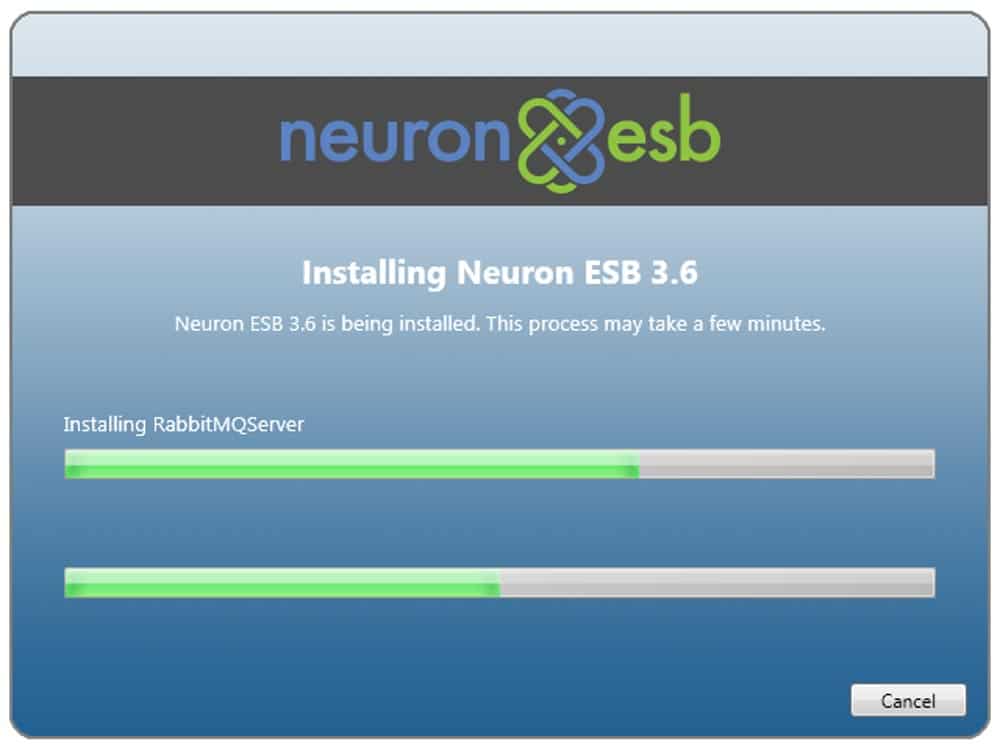
Clicking Next will begin the installation. If you chose to install the Erlang software package, the installer will first download it and then start the installation. The Erlang installer often gets hidden behind the Neuron ESB installer. If you see this screen, look for the Erlang installer icon in the Taskbar and click on it.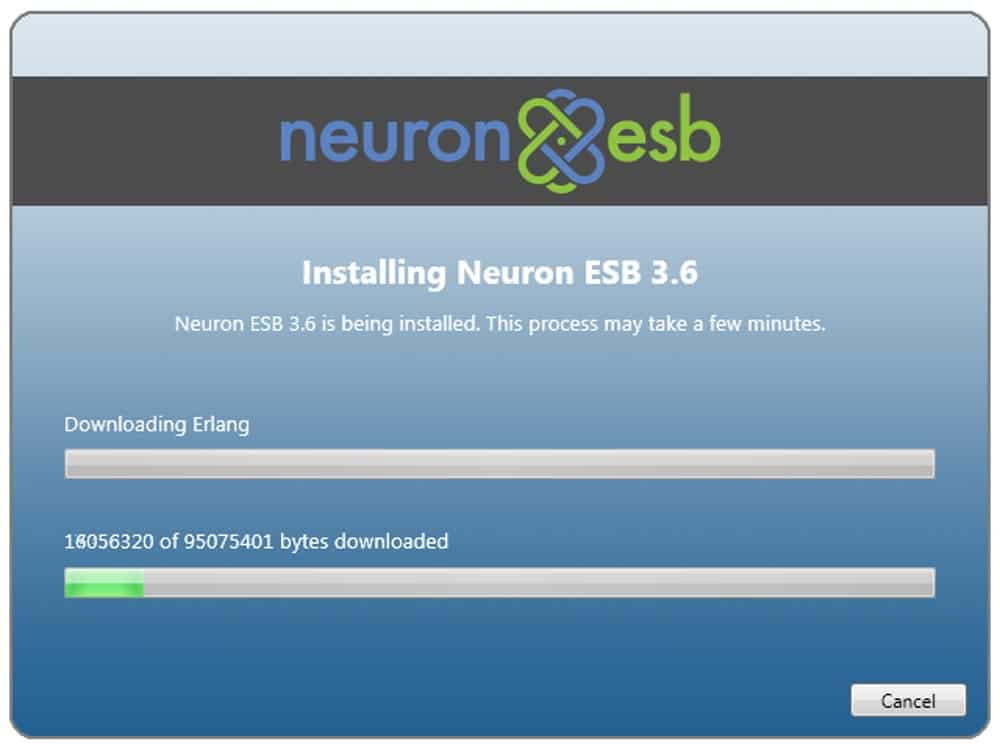
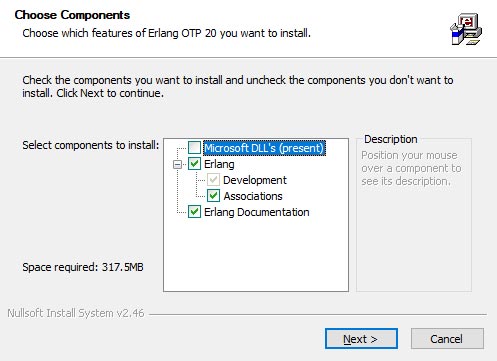
- >Clicking on the Erlang icon in the Taskbar brings up the Erlang installer.
- Select the components to install for Erlang and click Next.
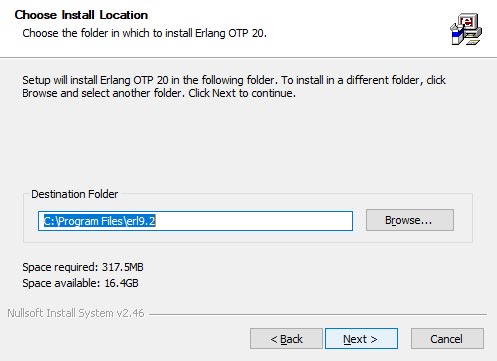
- Set the installation folder. Click Next.
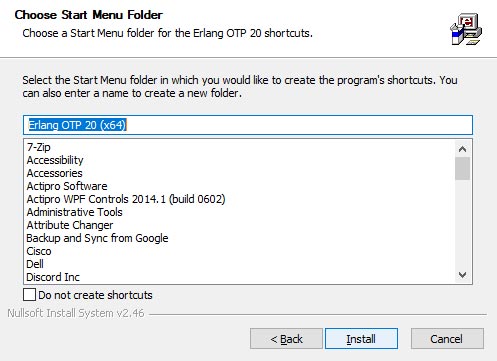
- Chose the Start Menu Folder for the Erlang components. Click Install.
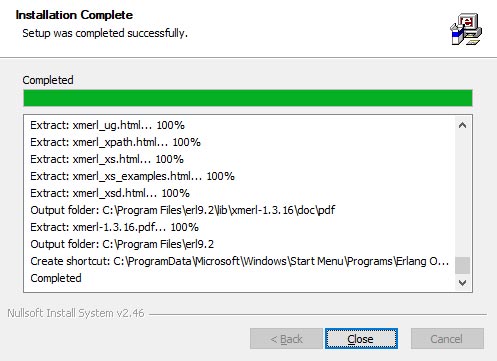
- When the installation completes, click Close.
- If you chose to install the RabbitMQ software package, the installer will next download it and then start the installation. The RabbitMQ installer often gets hidden behind the Neuron ESB installer. If you see this screen, look for the RabbitMQ installer icon in the Taskbar and click on it.
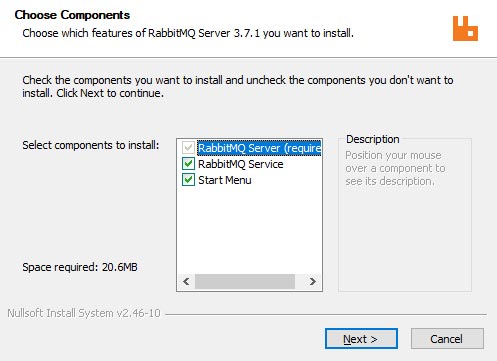
- Clicking on the Erlang icon in the Taskbar brings up the RabbitMQ installer. Select the components to install for RabbitMQ. Click Next.
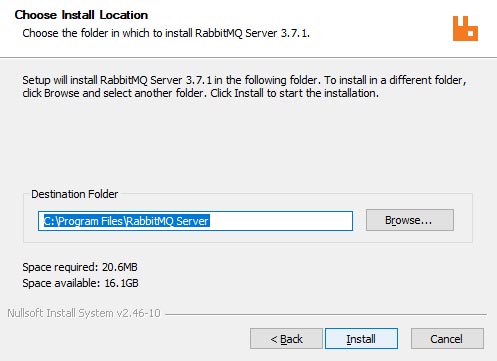
- Set the RabbitMQ install location. Click Install.
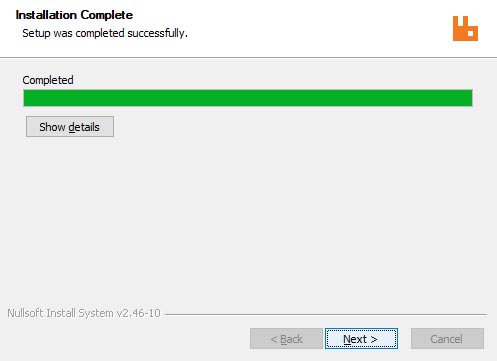
- When the RabbitMQ installation completes, click Next.
- Click Finish to exit the RabbitMQ installation
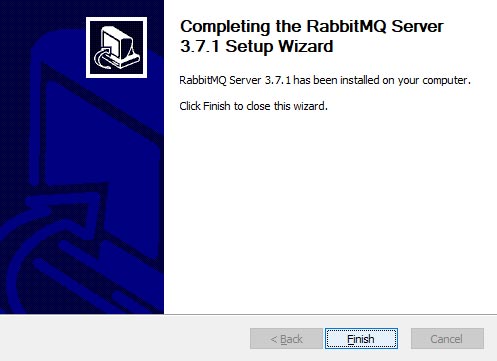
- The Neuron ESB installation will continue.

- When the installation completes, click the Exit button.
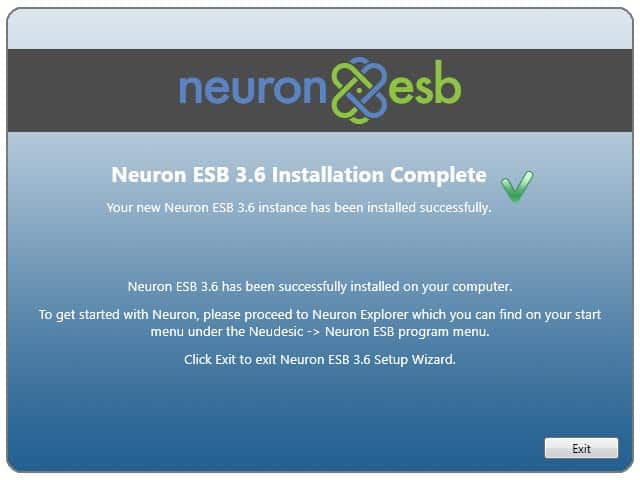
- Neuron ESB should now be installed.
Cancelling Neuron Installation
To Cancel Neuron Installation
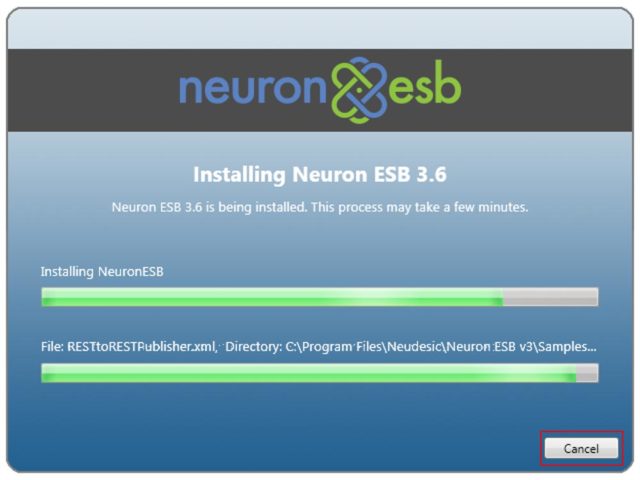
- Click the Cancel button at any point during the installation. The Interrupted page is shown.
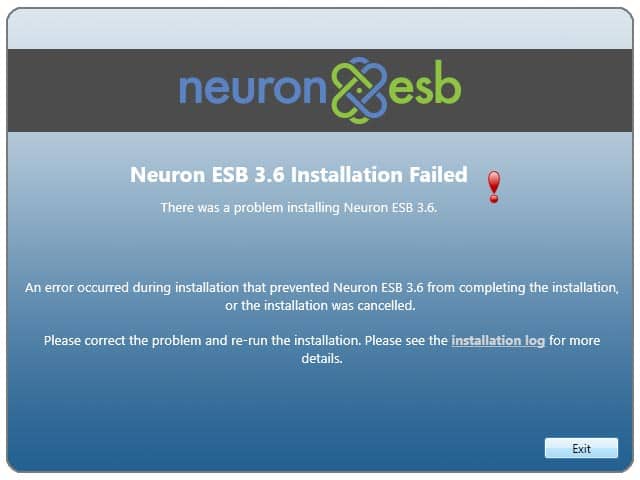
- >On the Installation Failed page, click Exit.