Importing a Microsoft Workflow Sample
Note: It is recommended that the Neuron process documentation be reviewed before running this sample. The documentation thoroughly describes each process component individually and describes how to configure each one as well as how to construct a process and associate it with a Neuron Publisher or Subscriber. See the Configuration Notes section at the end of this document for more information.
Overview
There are many Workflow Foundation (WF) samples available on the Microsoft Developer Network. Since Neuron ESB hosts its own Workflow Foundation runtime, many samples from Microsoft can be used in Neuron ESB with little or no modifications.
Sample workflows can be imported into Neuron ESB Explorer. This has the advantage of being able to reuse existing workflows and allows you to modify the workflow in the Workflow Designer in Neuron ESB Explorer. This sample uses the Switch sample.
Note: It is recommended that the Neuron process documentation be reviewed before running this sample. The documentation thoroughly describes each process component individually and describes how to configure each one as well as how to construct a process and associate it with a Neuron Publisher or Subscriber. See the Configuration Notes section at the end of this document for more information.
Running the Sample
Open the Sample
Note: This sample does not open a Neuron ESB Configuration or Visual Studio solution. It only opens this documentation page.
To open this sample documentation, see the topic Using the Neuron Samples and select the Importing a Microsoft Samples Workflow sample.
Configure the Sample
- Open the Switch.sln file in the samples folder \WF_WCF_Samples\WF\Basic\Built-InActivities\Switch\CS\Switch).
- Compile the project.
- Copy the Switch.exe file from the build output folder (\WF_WCF_Samples\WF\Basic\Built-InActivities\Switch\CS\Switch\bin\Debug) to the Neuron program files installation directory (C:\Program Files\Neudesic\Neuron ESB v3\DEFAULT\).
Note: Do not copy the file to the Workflows folder or it will show up as a custom activity in the Workflow toolbox. If the workflow has other dependent assemblies, copy them to the Neuron program files installation directory too (C:\Program Files\Neudesic\Neuron ESB v3\DEFAULT\). If the workflow does not contain any custom .NET types then you will not even need to compile the sample project. You can just import the xaml file instead.
Create a new Neuron Configuration
- If Neuron ESB Explorer is already opened, close it and re-open it and create a new Neuron Configuration (for this sample you do not need to configure a topic, publish or subscriber). You will not be able to import a workflow with dependent assemblies until you close and re-open the ESB Explorer.
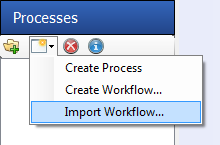
- On the Processes tab, click Import Workflow
- Navigate to the Sequence.xaml file in the samples folder \WF_WCF_Samples\WF\Basic\Built-InActivities\Switch\CS\Switch) and click the Open button.
Note: If you did not copy the Switch.exe file to the correct folder, then you will get an error indicating that you cannot import the workflow.
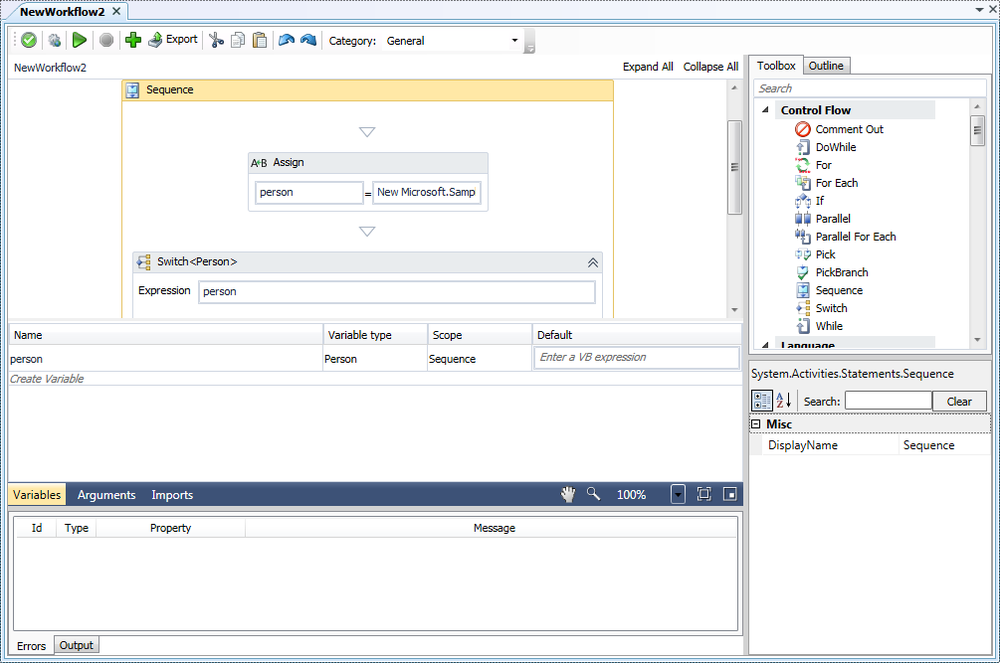
- Choose Normal Workflow and click the Create Workflow button.
- The workflow will be imported. Notice the variable called person of type Person that could be imported because the Switch.exe assembly contains that type and the assembly was loaded from the installation folder:
- Test the workflow by clicking the Test Workflow button
 in the Edit Test Message dialog, leave the default values and click the OK button.
 - The workflow will run and a message will show in the Output window:
