Developing a Custom Workflow Activity
Overview
Writing a custom workflow activity for Neuron is common and contains the same steps you use to create a custom activity for any Microsoft Workflow (WF) host application. The only difference is where you deploy the activity assembly so that it will appear in the Neuron ESB Explorer’s Workflow Toolbox.
This sample includes a custom workflow activity that generates lorem ipsum text that can be used when creating workflows.
Running the Sample
Open the Sample
To open this sample, see the topic Using the Neuron Samples and select the Developing a Custom Workflow Activity sample.
Configure the Sample
When launching this sample from the Samples Explorer, a Visual Studio project is opened. The references in this project need to be verified and the project needs to be built.
- In Visual Studio, expand the References list in the Solution Explorer.
- The project should be referencing the following assemblies:

- Compile the project.
- Copy the compiled project files (SampleDataActivityLibrary.dll and SampleDataActivityLibrary.pdb) to the Workflows folder of the Neuron program files installation directory (C:\Program Files\Neudesic\Neuron ESB v3\DEFAULT\Workflows).
Create a new Neuron Configuration
- If Neuron ESB Explorer is already opened, close it and re-open it and create a new Neuron Configuration (for this sample you do not need to configure a topic, publish or subscriber). You will not be able to see the custom workflow activity in the toolbox until you close and re-open the ESB Explorer.
- Click on the Processes section in the left navigation pane.
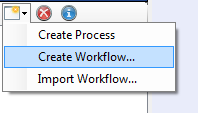
- From the new button dropdown, select Create Workflow
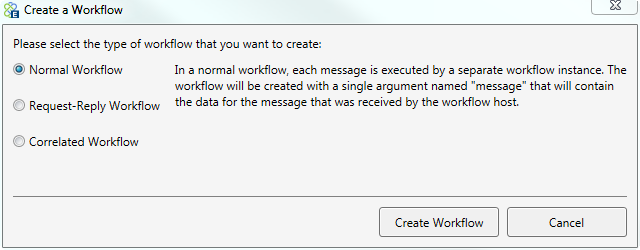
- Select Normal Workflow and click the Create Workflow button:
- You will see a new tab that contains the workflow designer with the toolbox on the right side.
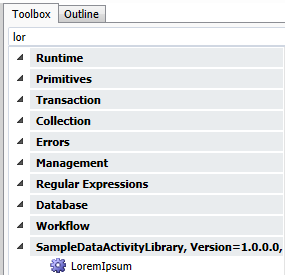
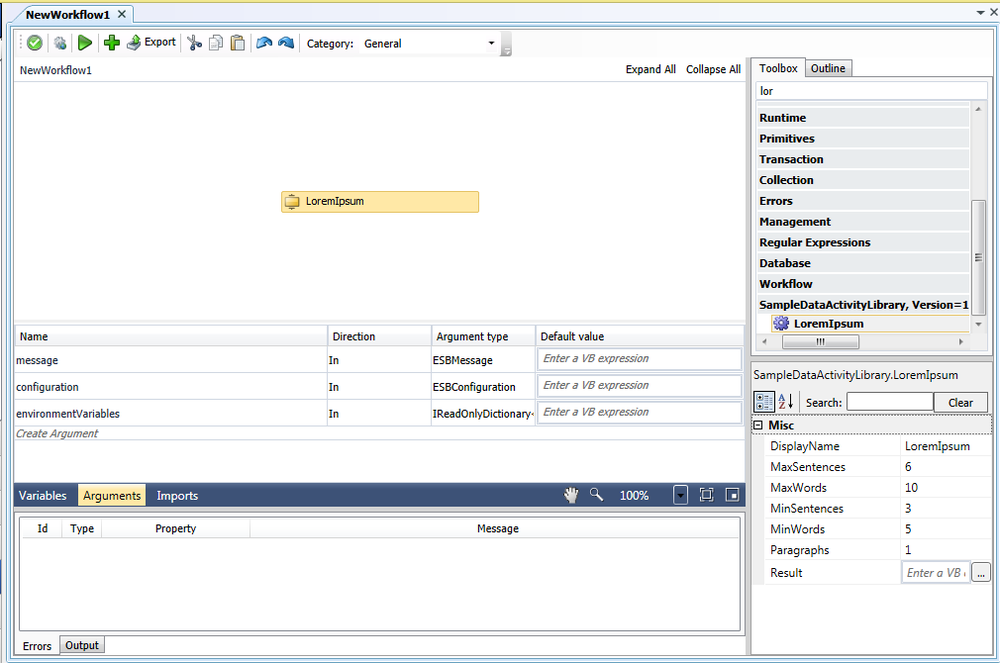
- In the search filter on the Toolbox tab type “lor” and then scroll in the toolbox until you find the LoremIpsum activity:
- When you drag this activity onto the Workflow Designer, it will appear as a single activity and the properties will show in the Property Grid:
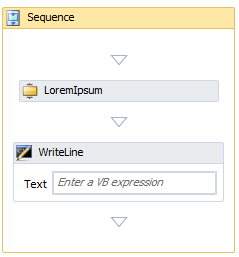
- Add a WriteLine activity just below the LoremIpsum activity and both activities will be automatically wrapped in a Sequence activity. The WriteLine activity is found in the Primitives category.
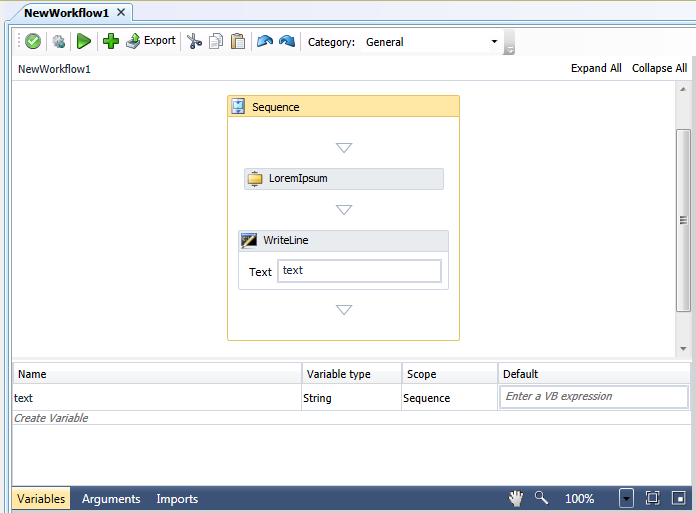
- Select the Sequence activity and then the Variables tab at the bottom and click on Create Variable to create a new variable called text of type String. In the WriteLine activity Text expression, set the expression to the variable named text.
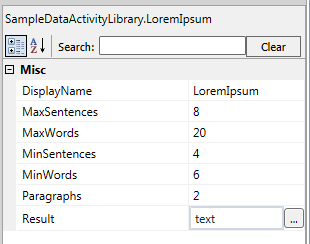
- Now select the LoremIpsum activity and set its properties as shows in the next image. Remember to set the Result property to the text variable:
- Test the workflow by clicking the Test Workflow button . In the Edit Test Message dialog, leave the default values and click the OK button.
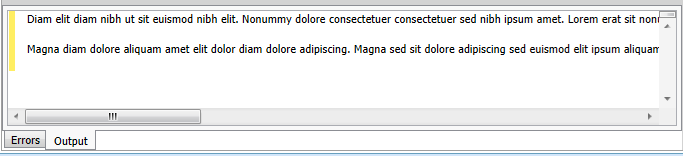
- The lorem ipsum text generated will be written to the Output window:
- Save the workflow by clicking the Apply button on the toolbar.
Debug a Custom Activity
When you copy the .pdb file into the Workflows folder along with the custom activity assembly then you are able to debug the activity.
- If it’s not already open, open Neuron ESB Explorer and open a workflow that has the LoremIpsum custom activity. Make sure you can successfully test the workflow.
- If it’s not already open, open the SampleDataActivityLibrary.sln in Visual Studio.
- In the LoremIpsum.cs file, add a breakpoint to the Execute method:

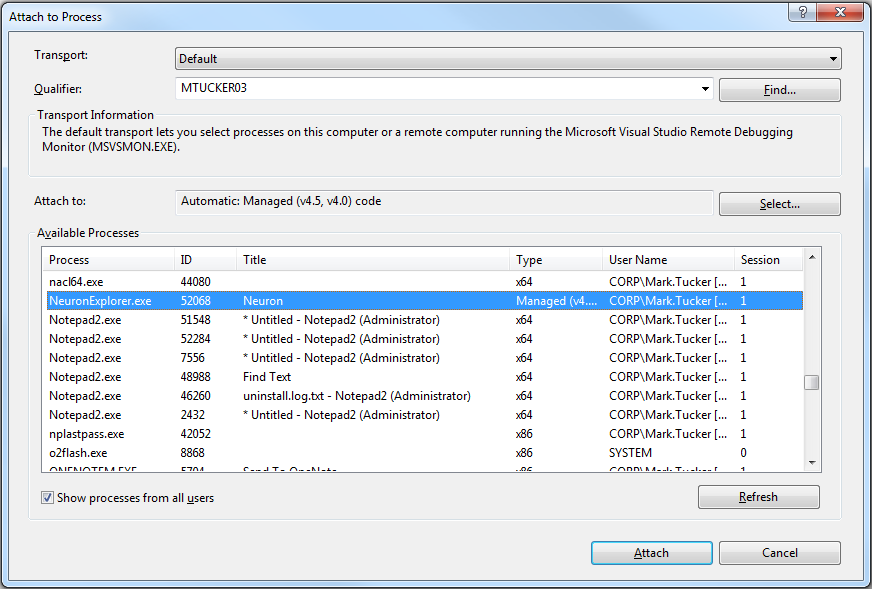
- From Visual Studio’s DEBUG menu, select Attach to Process and in the dialog select the running NeuronExplorer.exe process and then the Attach button:
- Test the workflow by clicking the Test Workflow button
 . In the Edit Test Message dialog, leave the default values and click the OK button.
 - The breakpoint in Execute method will be hit.